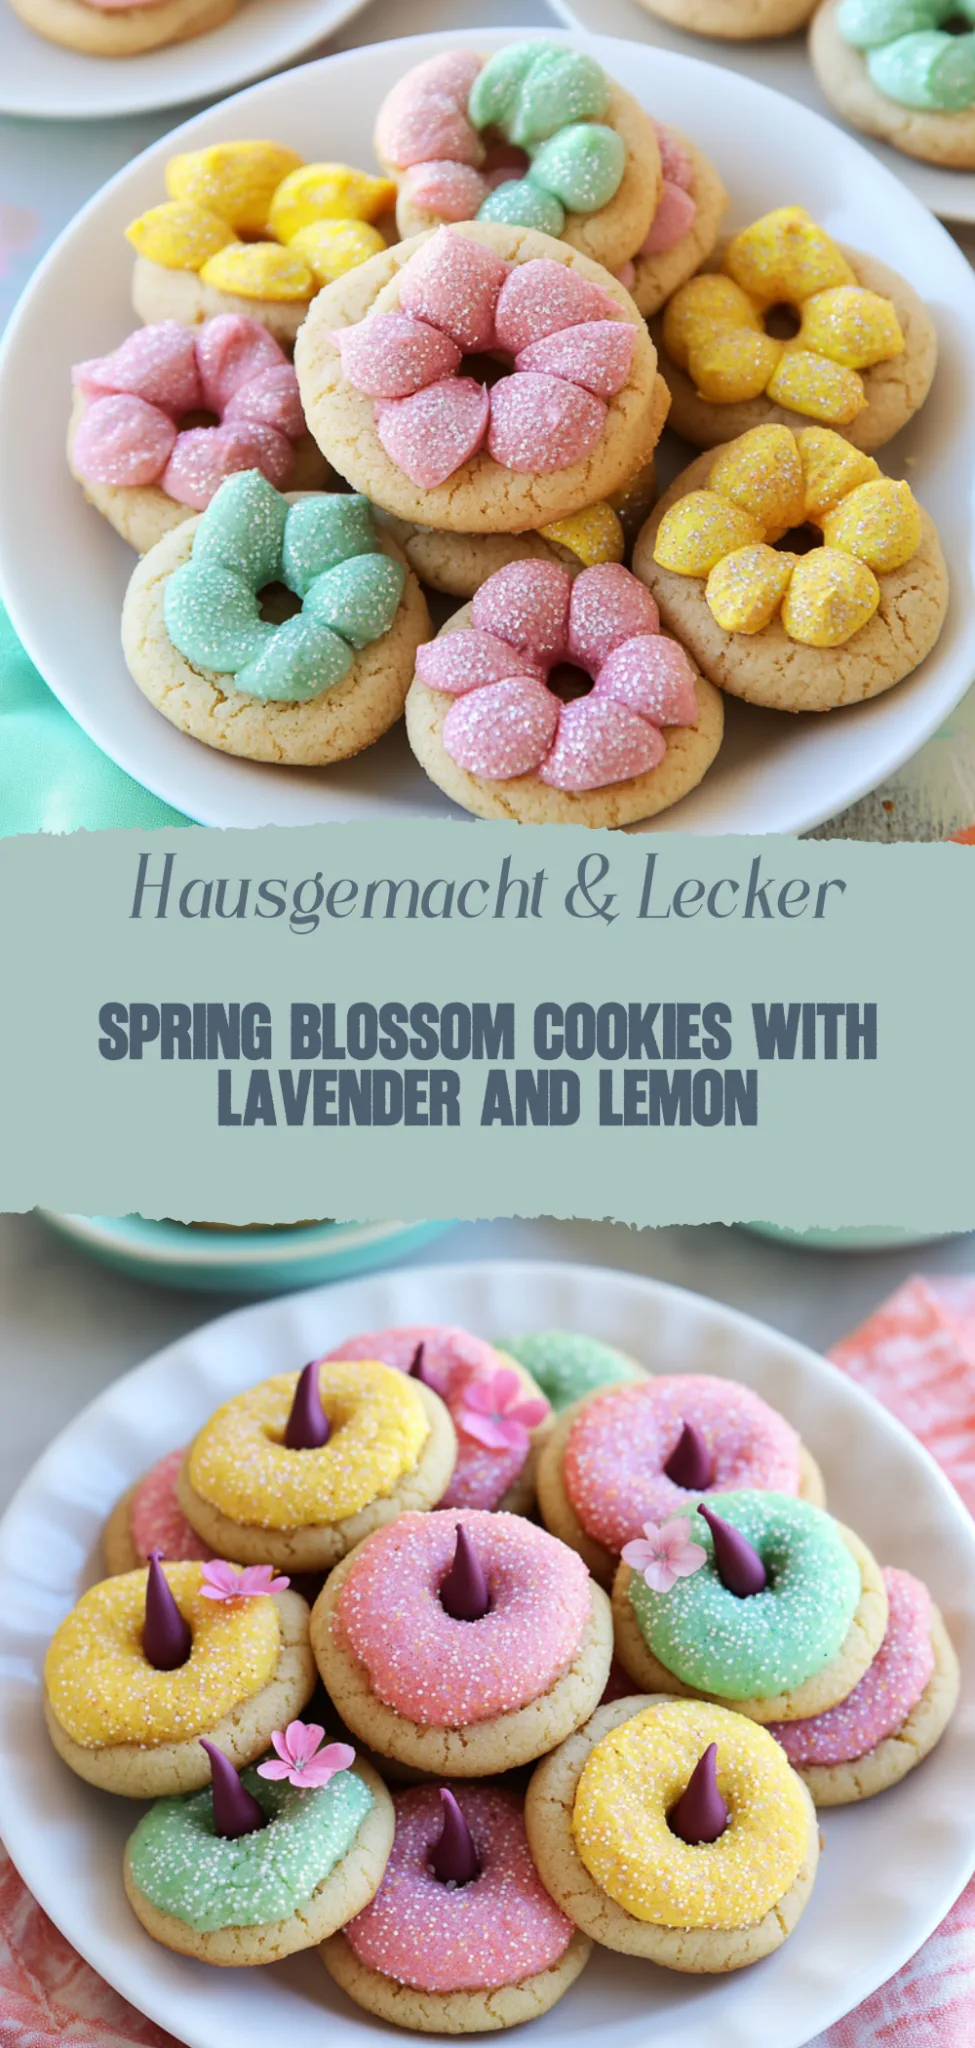
Spring Blossom Cookies: Gooey and Irresistible Treats
Imagine biting into a warm, gooey chocolate chip cookie, where the sweet aroma envelops you like a cozy blanket on a chilly evening. The rich flavors meld together with a satisfying crunch on the outside and a soft, melty center that dances on your taste buds, making every bite an irresistible temptation.
Growing up, my grandmother’s kitchen was filled with laughter and the enchanting scent of freshly baked cookies that signaled family gatherings and celebrations. Those beloved treats were more than just dessert; they were the heart of countless joyous moments shared over milk mustaches and giggles, promising an unforgettable flavor experience that will make you reminisce about your own cherished memories.
Why are Spring Blossom Cookies a must-try?
Delightful flavors come together in every bite, making these cookies a seasonal favorite. Easy to make, this recipe requires minimal ingredients and time—perfect for busy bakers! Versatile options allow you to customize with your favorite mix-ins. Impressive presentation makes them ideal for gatherings or as a thoughtful gift. Crowd-pleasing appeal guarantees smiles all around!
Spring Blossom Cookies Ingredients
For the Cookie Dough:
- 2 1/2 cups all-purpose flour – This forms the base for your cookies; spoon and level for accuracy.
- 1 teaspoon baking powder – Helps the cookies rise beautifully; don’t skip this for fluffy texture.
- 1/2 teaspoon salt – Balances the sweetness; use sea salt for a more complex flavor.
- 1 cup unsalted butter (softened) – Provides richness and a tender crumb; let it sit at room temperature before using.
- 1 cup granulated sugar – Sweetens the dough; you can substitute half with brown sugar for a deeper flavor.
- 2 large eggs – Binds the ingredients together; make sure they’re at room temperature for better mixing.
- 1 tablespoon vanilla extract – Adds warmth and depth to the cookie flavor profile.
For the Floral Decoration:
- 1/4 cup edible flower petals (such as pansies or violets) – Adds a beautiful touch and subtle flavor; ensure they’re pesticide-free.
- 1/2 cup powdered sugar – For dusting on top; adds sweetness without overwhelming the delicate cookie taste.
Enjoy these delightful Spring Blossom Cookies that bring a taste of nature’s beauty to your dessert table!
How to Make Spring Blossom Cookies
1. Preheat your oven to 350°F (175°C) and line a baking sheet with parchment paper. This ensures even baking, creating those delightful golden edges we all love.
2. Cream the butter and sugar together in a mixing bowl until light and fluffy, about 3-4 minutes. This step is key for a soft, tender cookie that melts in your mouth!
3. Add the eggs one at a time, mixing well after each addition. Then, stir in the vanilla extract. This combination adds warmth and depth to your Spring Blossom Cookies.
4. Combine the dry ingredients—flour, baking powder, and salt—in a separate bowl. Gradually mix these into your wet ingredients until just combined. Avoid overmixing to keep cookies tender.
5. Fold in colorful spring-themed sprinkles or edible flowers gently into the dough, ensuring they’re evenly distributed without breaking them up too much for that festive touch!
6. Scoop tablespoon-sized portions of dough onto the prepared baking sheet, spacing them about 2 inches apart for spreading during baking. Aim for uniformity so they bake evenly.
7. Bake in the preheated oven for 10-12 minutes or until the edges are lightly golden but the centers remain soft. Remove from the oven and let cool on the baking sheet for a few minutes.
8. Transfer cookies to a wire rack to cool completely before serving or enjoying! This allows them to set perfectly and intensifies their flavor.
Optional: Dust with powdered sugar before serving for an elegant finish.
Exact quantities are listed in the recipe card below.
Tips for the Best Spring Blossom Cookies
- Chill the Dough: Allow your cookie dough to chill for at least 30 minutes. This helps prevent spreading and ensures perfectly shaped Spring Blossom Cookies.
- Measure Precisely: Use a kitchen scale for accuracy, especially with flour. Too much can lead to dry cookies, ruining the delicate texture.
- Choose Quality Ingredients: Opt for fresh, high-quality butter and vanilla extract. The flavors will shine through in your Spring Blossom Cookies, making them irresistible.
- Don’t Overbake: Keep an eye on your cookies as they bake. They should be lightly golden at the edges while remaining soft in the center for the best taste.
- Experiment with Toppings: Try different flavored chocolates or nuts on top of your cookies to personalize them and surprise your loved ones with new flavors!
Storage Tips for Spring Blossom Cookies
Room Temperature: Store your Spring Blossom Cookies in an airtight container at room temperature for up to 3 days to maintain their delightful texture and flavor.
Fridge: If you want to keep them fresh a bit longer, place the cookies in the fridge for up to 1 week. Just make sure they’re well-wrapped!
Freezer: For longer storage, freeze the cookies in a single layer on a baking sheet, then transfer them to a freezer-safe bag. They’ll stay fresh for up to 3 months.
Reheating: To enjoy that soft-baked goodness again, simply pop the cookies in a preheated oven at 350°F (175°C) for 5-7 minutes.
Spring Blossom Cookies Variations
Elevate your baking experience by personalizing these delightful treats with your favorite flavors and textures!
- Dairy-Free: Substitute butter with coconut oil or a plant-based butter to keep the cookies rich and delicious. Enjoy the subtle hint of coconut that brings a tropical twist to each bite.
- Gluten-Free: Use a gluten-free flour blend in place of all-purpose flour for a delightful alternative. This ensures everyone can savor the joy of these cookies, without missing out on taste or texture.
- Nutty Crunch: Add chopped walnuts or pecans for a satisfying crunch and nutty flavor. The contrast between the soft cookie and crispy nuts creates an irresistible texture that will leave your family asking for more.
- Citrus Zest: Incorporate lemon or orange zest into the dough for a refreshing burst of flavor. This simple addition brightens up the cookies, making them perfect for spring gatherings!
- Chocolate Lovers: Mix in dark chocolate chips or chunks for an indulgent treat. The rich chocolate complements the sweetness of the cookies beautifully, creating a heavenly combination.
- Spicy Surprise: Add a pinch of cayenne pepper or chili powder for an unexpected kick. This slight heat enhances the sweetness, turning each bite into a delightful flavor adventure.
- Herbal Infusion: Try incorporating finely chopped fresh herbs like lavender or rosemary for an aromatic touch. These unique flavors will surprise your palate and elevate your cookie game to new heights.
- Fruit-Filled: Fold in dried fruits such as cranberries or cherries for added sweetness and chewy texture. Each bite becomes a sweet journey, filled with fruity goodness that balances perfectly with the delicate cookie base.
Make Ahead Options
Spring Blossom Cookies are not only a delightful treat but also perfect for meal prep, allowing you to enjoy their sweet flavors with less stress. To make them ahead of time, you can prepare the cookie dough and refrigerate it for up to 3 days. Simply mix all your ingredients together as directed, then shape the dough into balls and place them on a baking sheet lined with parchment paper. Cover tightly and refrigerate. When you’re ready to bake, preheat your oven and pop them in straight from the fridge—no need to thaw! For the best texture and flavor, try to bake them within that 3-day window. With these make-ahead tips, your Spring Blossom Cookies will always be fresh and ready for any occasion!
Spring Blossom Cookies Recipe FAQs
What type of flour is best for Spring Blossom Cookies?
Using all-purpose flour is ideal for these cookies, as it provides the perfect balance of structure and tenderness. If you’re looking for a gluten-free option, you can substitute with a 1: 1 gluten-free baking blend; just ensure it’s designed for cookies to achieve that light, airy texture.
How should I store my Spring Blossom Cookies?
To keep your cookies fresh, store them in an airtight container at room temperature for up to five days. If you want to prolong their freshness, consider placing a slice of bread in the container. This little trick will help maintain moisture and softness!
Can I freeze Spring Blossom Cookies?
Absolutely! To freeze your cookies, allow them to cool completely, then layer them between sheets of parchment paper in an airtight freezer-safe container. They can be stored in the freezer for up to three months. When you’re ready to enjoy them, simply let them thaw at room temperature or warm them slightly in the oven at 350°F (175°C) for about 5-7 minutes.
What should I do if my cookie dough is too sticky?
If your dough feels excessively sticky, don’t fret! You can add a tablespoon of flour at a time until it reaches a manageable consistency. Additionally, chilling the dough in the refrigerator for about 30 minutes can also help firm it up and make rolling easier.
Are there any dietary considerations I should know about for Spring Blossom Cookies?
These cookies can easily be adapted for various dietary needs! For a dairy-free version, substitute butter with coconut oil or vegan butter. If you need an egg replacement, try using a flax egg (1 tablespoon ground flaxseed mixed with 2.5 tablespoons water) per egg needed. Just keep in mind that altering ingredients may slightly change the texture and flavor.
How do I know when my cookies are done baking?
Baking time can vary based on your oven and cookie size; however, a good rule of thumb is to look for edges that are lightly golden while the centers remain soft. They may seem underbaked when you take them out, but they’ll continue to set as they cool on the baking sheet—this is key to achieving that delightful chewy center!

Spring Blossom Cookies
Ingredients
Method
- Preheat your oven to 350°F (175°C).
- In a mixing bowl, whisk together the flour, baking powder, baking soda, and salt.
- In another bowl, cream the softened butter and granulated sugar until light and fluffy.
- Add the egg, vanilla extract, and almond extract to the butter mixture and mix until combined.
- Gradually add the dry ingredients to the wet ingredients, mixing until a dough forms.
- Roll out the dough on a floured surface to about 1/4 inch thickness.
- Use cookie cutters to cut out shapes and place them on a baking sheet lined with parchment paper.
- Bake in the preheated oven for 10-12 minutes or until the edges are lightly golden.
- Remove from oven and let cool completely on a wire rack.
- In a small bowl, mix the powdered sugar and milk to create a smooth icing.
- Once the cookies are cool, drizzle the icing over the cookies and decorate with edible flowers.
- Allow the icing to set before serving.