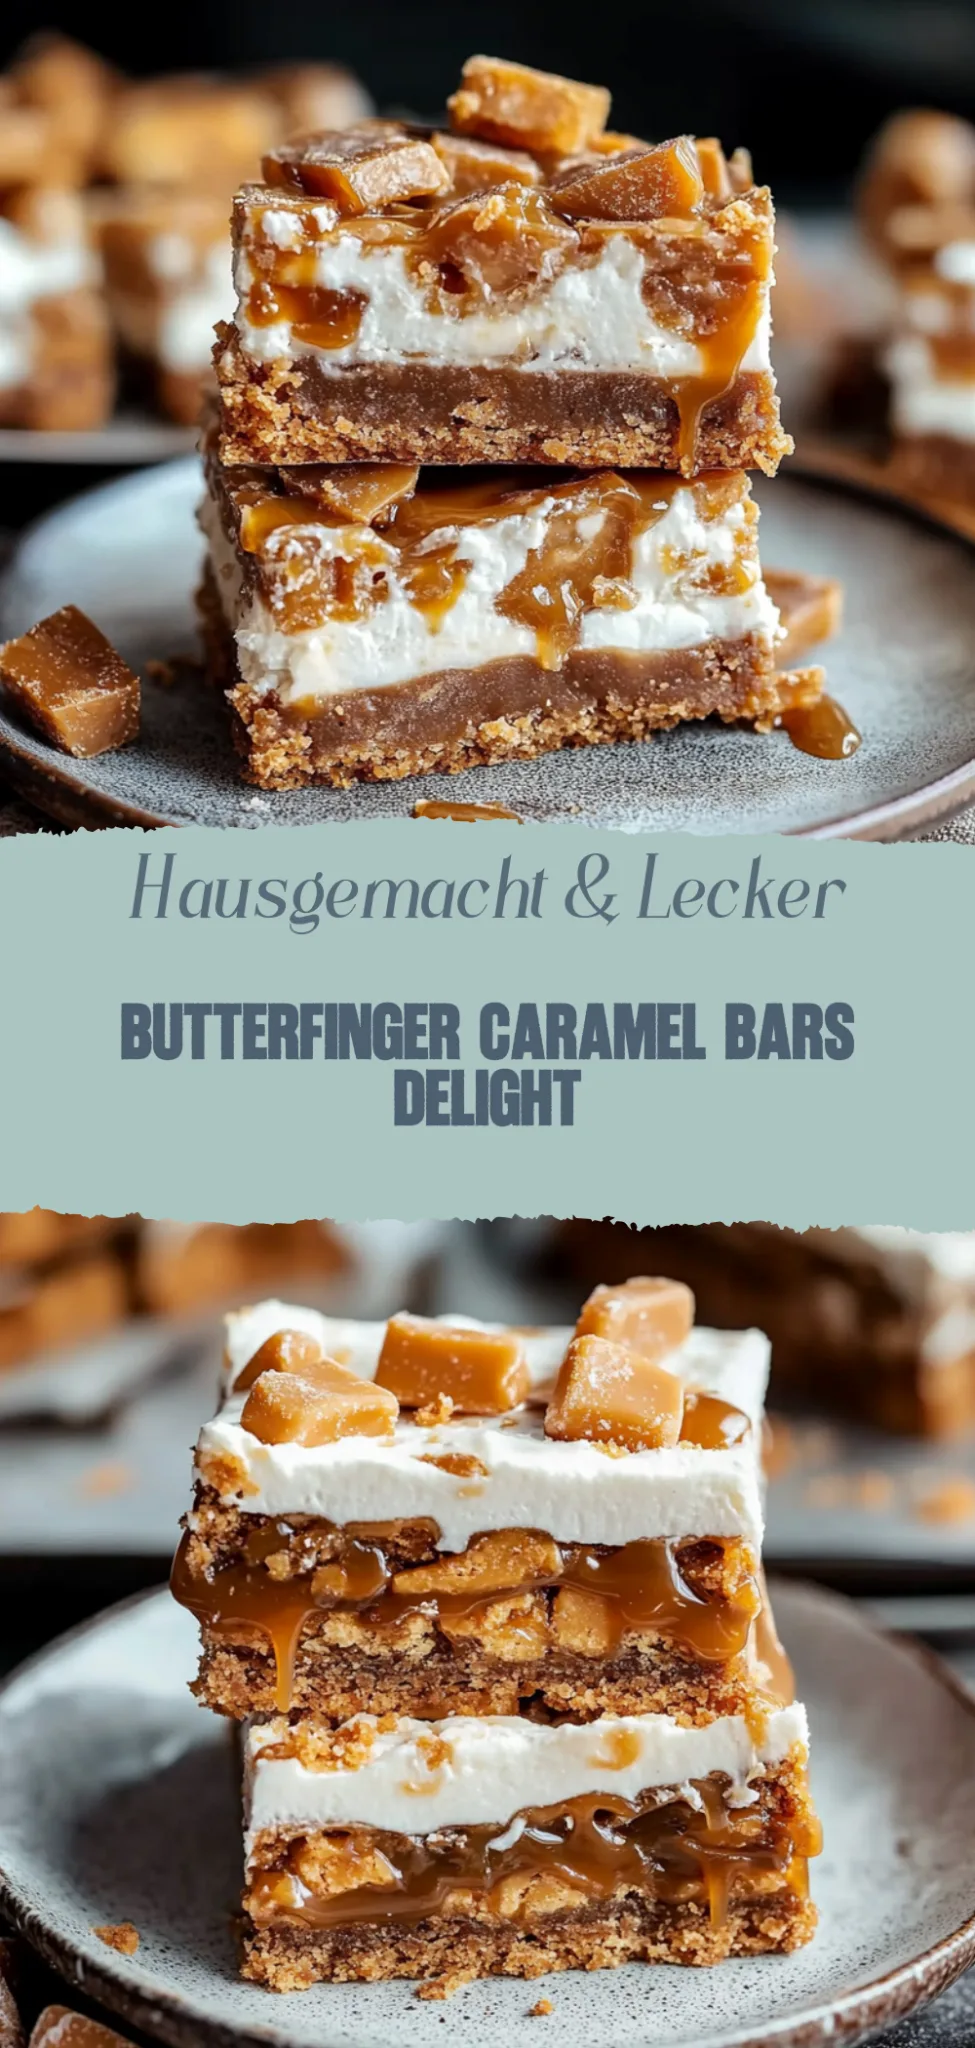
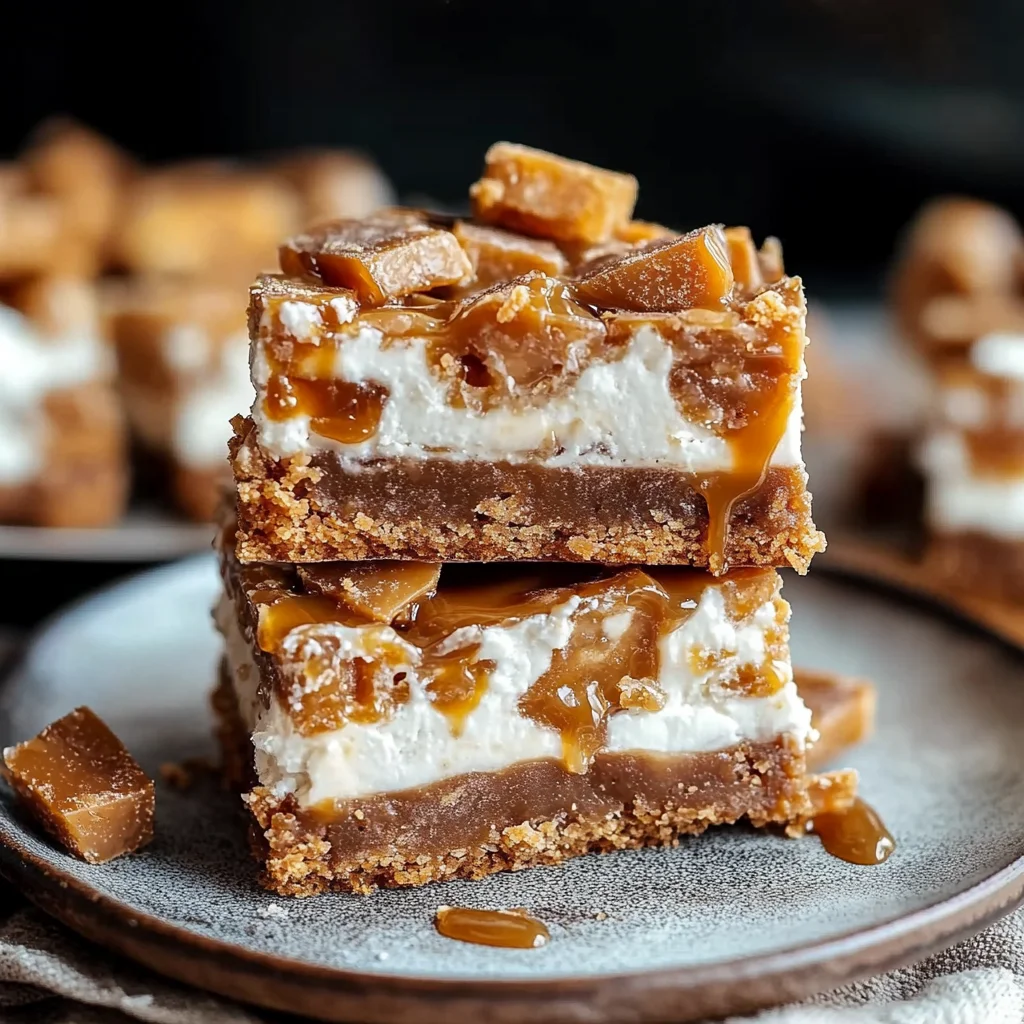
Butterfinger Caramel Bars: Gooey and Irresistible Treats
Imagine sinking your teeth into a warm, gooey slice of chocolate lava cake, where the rich, velvety chocolate oozes out with each forkful, sending your taste buds on an unforgettable adventure. The aroma wafts through the air, a tantalizing invitation that whispers promises of indulgence and comfort, making it the perfect treat for cozy nights or celebrations with loved ones.
Now, picture this: a gathering of friends, laughter filling the room as you serve up this decadent dessert that never fails to impress. Each bite transports you back to childhood moments spent baking in the kitchen with family, creating memories that blend nostalgia with delight. The anticipation builds as everyone eagerly awaits their turn to savor this molten masterpiece – a sweet reminder that life is meant to be celebrated one delicious dessert at a time.
What makes Butterfinger Caramel Bars irresistible?
Unforgettable flavor: The rich combination of chocolate, caramel, and Butterfinger gives these bars a delightful crunch that will have your taste buds dancing.
Quick to make: With just a few simple steps, you can whip up these treats in no time, perfect for busy days.
Crowd-pleaser: Whether for parties or family gatherings, everyone will love these decadent bars.
Versatile treat: Enjoy them as a dessert or snack—they’re delicious any time!
Easy to customize: Add nuts or other toppings for a personal touch that suits your palate!
Butterfinger Caramel Bars Ingredients
For the Base:
- 1 cup unsalted butter (softened) – Helps create a rich, tender base; if you’re out of butter, coconut oil is a good alternative
- 1 cup brown sugar (packed) – Adds moisture and a deep, caramel-like flavor; light or dark brown sugar can be used interchangeably
- 2 cups all-purpose flour – Provides structure to the bars; for gluten-free, use a 1:1 gluten-free flour blend
- 1/2 teaspoon baking powder – Leavening agent to help the bars rise slightly; don’t skip this for the best texture
- 1/4 teaspoon salt – Enhances all the flavors in your Butterfinger Caramel Bars
For the Filling:
- 1 cup caramel sauce (store-bought or homemade) – A sweet, gooey layer that pairs perfectly with chocolate; feel free to make it from scratch for extra richness
- 1 cup Butterfinger candy bars (chopped) – Adds that classic peanut butter flavor and crunch; other peanut butter candies can work as substitutes
For the Topping:
- 1 cup semi-sweet chocolate chips – Melts beautifully to create a luscious topping; milk chocolate can be used for a sweeter finish
- 1 tablespoon vegetable oil – Helps to thin out the chocolate for easier spreading; you can use coconut oil for added flavor
This collection of ingredients will bring your Butterfinger Caramel Bars to life, making them a delightful treat everyone will love!
How to Make Butterfinger Caramel Bars
1. Preheat your oven to 350°F (175°C). This ensures a perfectly baked base that’s golden and delicious, ready to hold all the tasty layers to come.
2. Prepare a 9×13-inch baking dish by lining it with parchment paper, leaving some overhang for easy removal later. This little trick makes cleanup a breeze!
3. Mix the crust ingredients in a large bowl until crumbly and well combined. You want a texture similar to wet sand, which will form the perfect base for our bars.
4. Press the mixture firmly into the bottom of your prepared dish, ensuring it’s evenly distributed. Bake for about 15 minutes, or until it’s just starting to turn golden brown.
5. Melt caramels and heavy cream together in a saucepan over low heat, stirring until smooth and creamy. This luscious caramel layer adds that irresistible sweetness!
6. Pour the melted caramel over your baked crust, spreading it evenly with a spatula. Allow it to cool slightly while you prepare the topping.
7. Crush Butterfinger bars in a resealable bag until they resemble coarse crumbs; this gives your topping that signature crunch! Set aside a handful for garnish.
8. Sprinkle the crushed Butterfinger evenly over the caramel layer, gently pressing down to adhere them together before they set.
9. Chill in the fridge for at least an hour until firm; this waiting time builds anticipation for those delightful bites of heaven!
10. Slice into bars using a sharp knife, wiping between cuts if necessary for clean edges. Enjoy these sweet treasures with family and friends!
Optional: Drizzle with chocolate before serving for an extra touch of decadence.
Exact quantities are listed in the recipe card below.
Tips for the Best Butterfinger Caramel Bars
- Chill Your Dough: Let your base layer chill in the fridge for at least 30 minutes. This ensures it sets properly and holds together well.
- Layer Wisely: Spread the caramel evenly for consistent flavor in every bite. Avoid clumping to prevent uneven sweetness in your Butterfinger Caramel Bars.
- Use Quality Ingredients: Opt for high-quality chocolate and fresh butter. These key ingredients make a noticeable difference in the final taste of your bars.
- Don’t Overbake: Keep an eye on your oven! Overbaking can lead to dry bars. Aim for a golden-brown top for that perfect chewy texture.
- Cool Completely: Allow the bars to cool fully before cutting. This helps them maintain their shape and makes slicing easier without crumbling.
How to Store and Freeze Butterfinger Caramel Bars
Room Temperature: Keep your Butterfinger Caramel Bars in an airtight container at room temperature for up to 3 days. This will help maintain their delicious texture and flavor.
Fridge: If you’d like to extend their freshness, store the bars in the fridge for up to 1 week. Just make sure they’re tightly wrapped to prevent them from drying out.
Freezer: For longer storage, freeze the Butterfinger Caramel Bars by wrapping them individually in plastic wrap and placing them in a freezer-safe bag. They’ll stay fresh for up to 3 months.
Reheating: To enjoy them warm, simply microwave a bar for about 10-15 seconds. This will bring back that melty goodness we all love!
Butterfinger Caramel Bars: Delicious Twists
Get ready to personalize your treat and take these bars to the next level of yumminess!
- Nut-Free: Substitute sunflower seed butter for a nut-free option that still delivers on creamy goodness. Your friends with allergies will thank you!
- Vegan: Use coconut oil instead of butter and swap in dairy-free chocolate to create a plant-based delight. These bars will be loved by everyone, regardless of their dietary choices.
- Spicy: Add a pinch of cayenne pepper or cinnamon to the caramel layer for a warm kick. This unexpected twist will surprise your taste buds in the best way possible!
- Crunchy: Toss in some chopped pretzels or crushed nuts for an added crunch. The contrast in texture makes every bite an adventure.
- Fruit-Infused: Layer in some dried cranberries or chopped apples for a fruity zing. This adds a refreshing burst that pairs beautifully with the rich caramel.
- Chocolate Lovers: Drizzle extra melted chocolate on top before serving for an indulgent finish. It’s all about elevating that chocolate flavor to new heights!
- Low-Sugar: Use a sugar substitute like erythritol or stevia to cut down on sweetness without sacrificing taste. You’ll still enjoy that delightful richness while being kinder to your waistline.
- Mini Bars: Cut into smaller portions for bite-sized treats perfect for sharing at gatherings. They’re easy to pop in your mouth and share the love!
Make Ahead Options
Butterfinger Caramel Bars are perfect for meal prep, allowing you to enjoy these delightful treats whenever a craving strikes. You can prepare the base layer and the caramel filling up to 24 hours in advance. Simply mix the cookie crust and press it into your baking dish, then store it covered in the fridge. Next, whip up the caramel and let it cool before pouring it over the crust. This can be done up to 3 days ahead. When you’re ready to serve, just top with crushed Butterfinger candy bars and let it set for about 30 minutes at room temperature. To maintain that deliciously chewy texture, keep the bars stored in an airtight container at room temperature for up to a week. Enjoy the time-saving benefits of having these delectable Butterfinger Caramel Bars prepped and ready!
Butterfinger Caramel Bars Recipe FAQs
What kind of butter should I use for the Butterfinger Caramel Bars?
For the best flavor and texture, use unsalted butter. It allows you to control the saltiness of your bars while keeping that rich, creamy taste. If you only have salted butter on hand, just reduce any additional salt in the recipe.
How should I store my Butterfinger Caramel Bars?
Keep your delicious bars stored in an airtight container at room temperature for up to 5 days. If you want to keep them fresher for longer, you can refrigerate them for up to two weeks. Just make sure they are well-wrapped to prevent them from drying out!
Can I freeze Butterfinger Caramel Bars?
Absolutely! To freeze, wrap each bar tightly in plastic wrap and then place them in a freezer-safe bag or container. They can last up to 3 months in the freezer. When you’re ready to enjoy them, simply thaw in the fridge overnight or at room temperature for a few hours.
What if my caramel is too runny?
If your caramel turns out too runny, it might not have cooked long enough. Ensure you’re heating it gently over medium heat and stirring frequently until it reaches a deep golden color and thickens slightly—about 10-15 minutes usually does the trick. If it’s still too runny after cooling, consider adding a bit more confectioners’ sugar to thicken it up.
Are there any dietary alternatives for this recipe?
Yes! You can easily adapt this recipe for various dietary needs. For a gluten-free version, simply substitute all-purpose flour with a gluten-free blend. If you’re looking to make it vegan, try using coconut oil instead of butter and dairy-free chocolate chips in place of regular chocolate.
How do I know when my Butterfinger Caramel Bars are fully set?
You’ll know your bars are set when they are firm to the touch but still slightly soft in the center—this usually takes about 1-2 hours at room temperature after baking. The top should also look glossy and have a slight sheen from the chocolate layer once cooled. Enjoy that irresistible blend of flavors!
Butterfinger Caramel Bars
Ingredients
Method
- Preheat the oven to 350°F (175°C). Grease the baking pan.
- In a mixing bowl, combine melted butter and brown sugar until smooth.
- Add flour, oats, baking soda, and vanilla extract. Mix until well combined.
- Press the mixture evenly into the bottom of the prepared baking pan.
- Spread the caramel sauce evenly over the base.
- Sprinkle the chopped Butterfinger candy bars over the caramel layer.
- In a saucepan, melt the chocolate chips with vegetable oil over low heat, stirring until smooth.
- Pour the melted chocolate over the Butterfinger layer, spreading it evenly.
- Bake in the preheated oven for 20-25 minutes, or until the edges are golden brown.
- Remove from the oven and let cool completely in the pan before cutting into bars.