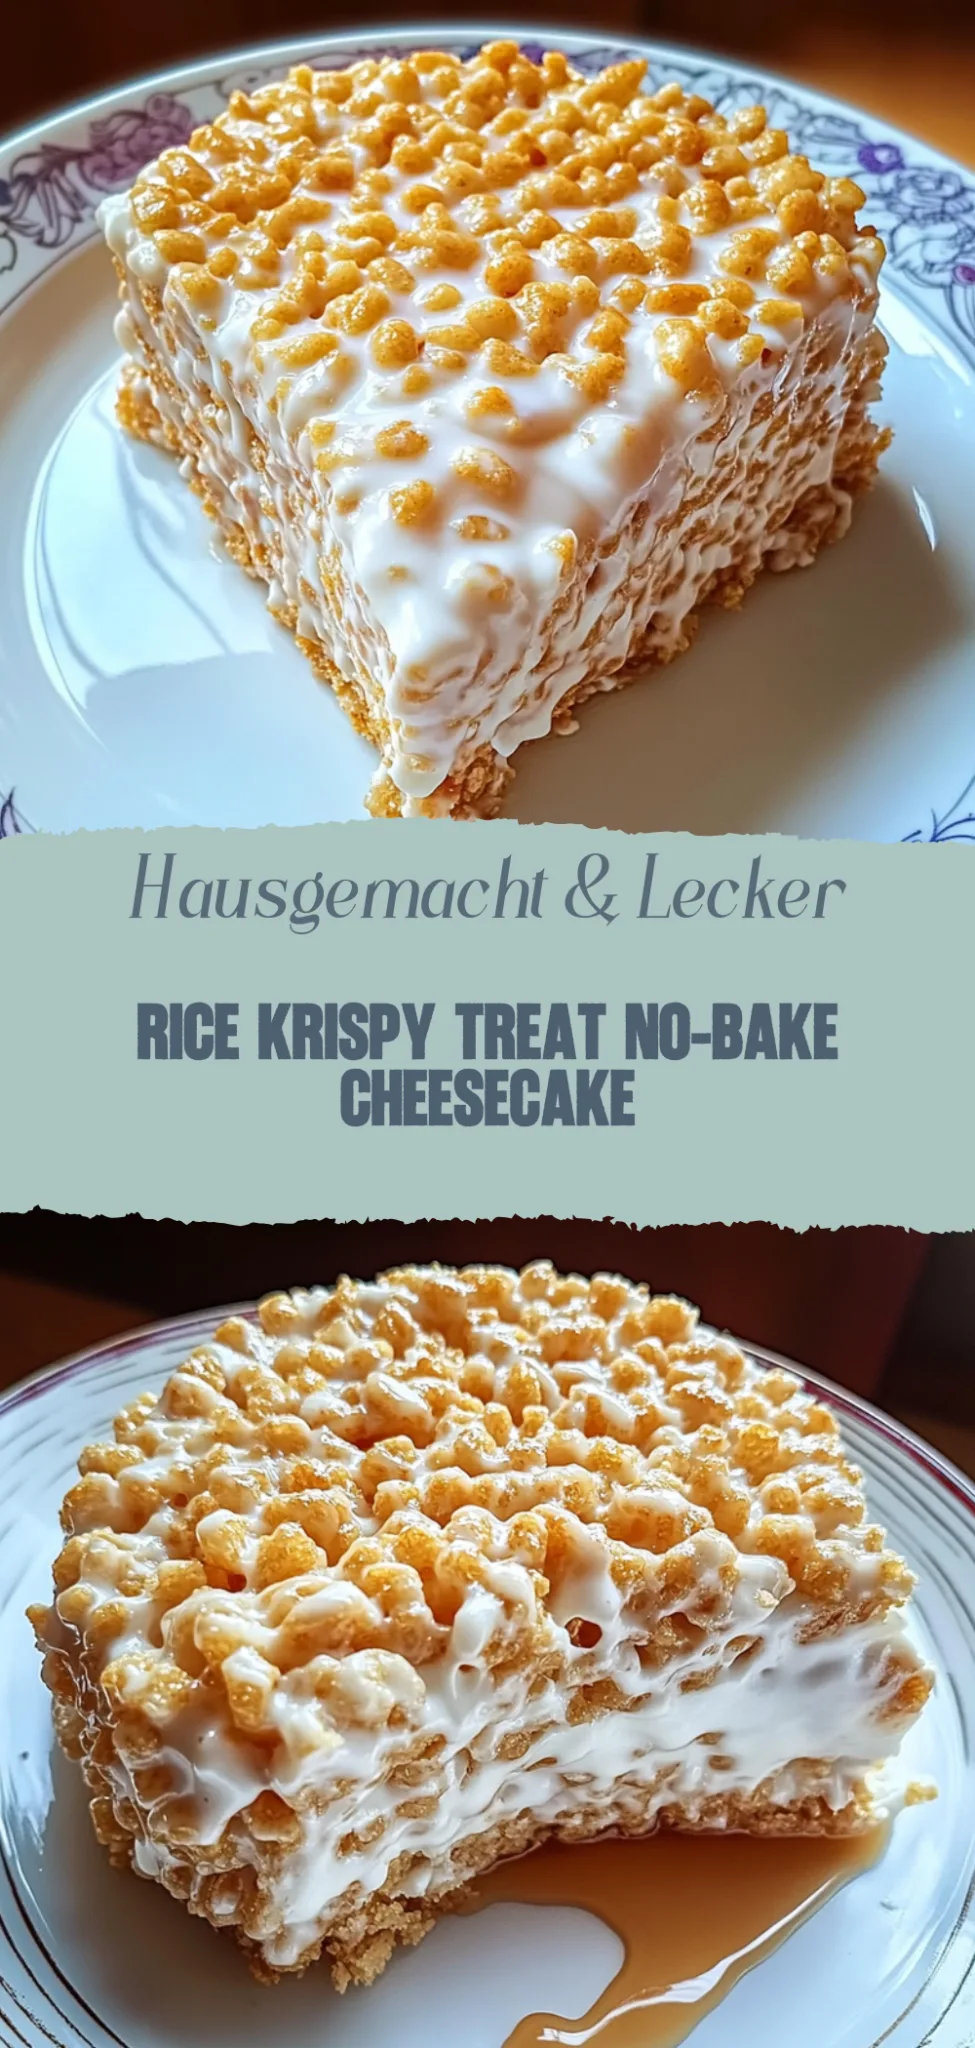
Rice Krispy Treat No-Bake Cheesecake: Delightfully Creamy
Imagine biting into a crispy, golden empanada, the warm, flaky crust giving way to a savory explosion of seasoned meat and vibrant vegetables that dance on your palate. The aroma wafts through the air, teasing your senses and igniting memories of family gatherings where laughter mingles with the delightful scent of homemade goodness.
I remember the first time I attempted to make these little pockets of joy; the kitchen was a whirlwind of flour and spices, and my attempt at folding them perfectly was more like origami gone wrong. Yet, every bite was a reminder of those cherished moments shared with loved ones, making empanadas the perfect addition to any celebration or cozy night in. Get ready to embark on a flavorful journey that will leave your taste buds singing!
Why is Rice Krispy Treat No-Bake Cheesecake irresistible?
Indulge in a dessert that’s as delightful as it is easy!
No-bake means less time in the kitchen and more time enjoying with friends.
Unique flavors blend creamy cheesecake with crunchy Rice Krispies for a fun twist.
Versatile enough to customize with your favorite toppings or mix-ins.
Crowd-pleaser, perfect for parties, potlucks, or a sweet treat at home!
Rice Krispy Treat No-Bake Cheesecake Ingredients
For the Crust:
- 4 cups Rice Krispies cereal – Provides the signature crunch; you can substitute with other crispy cereals if needed
- 1 cup mini marshmallows – Adds sweetness and helps bind the crust together; use regular marshmallows if that’s what you have
- 1/2 cup unsalted butter (melted) – Essential for flavor and texture; coconut oil can be a great dairy-free alternative
- 1/4 cup granulated sugar – Sweetens the crust nicely; you can reduce this if you prefer less sweetness
For the Cheesecake Filling:
- 16 oz cream cheese (softened) – The star of the filling; use full-fat for a rich taste, or low-fat for a lighter version
- 1 cup powdered sugar – Sweetens the cheesecake and gives it a smooth texture; adjust to taste if desired
- 1 teaspoon vanilla extract – Enhances the flavor of your cheesecake; consider using almond extract for a unique twist
- 1 cup heavy whipping cream – Whips up beautifully for that luscious texture; coconut cream is a fantastic non-dairy substitute
For Topping:
- 2 cups whipped cream (store-bought or homemade) – Lightens the final product and adds an airy finish; use Cool Whip for convenience
- 1/2 cup chocolate chips (mini or regular) – For a delightful chocolatey touch; feel free to use white chocolate chips instead
- Sprinkles (optional) – Adds color and fun; choose your favorite type to make it festive
This Rice Krispy Treat No-Bake Cheesecake is sure to be a hit at your next gathering!
How to Make Rice Krispy Treat No-Bake Cheesecake
1. Prepare the crust: In a mixing bowl, combine melted butter and crispy rice cereal until well-coated. Press this mixture evenly into the bottom of a greased springform pan for a crunchy base.
2. Mix the filling: In another bowl, blend cream cheese and powdered sugar until smooth and creamy. Add vanilla extract for that warm, inviting flavor, mixing until everything is perfectly integrated.
3. Fold in whipped cream: Gently fold in the whipped cream until fully combined with the cream cheese mixture. This step adds a light, airy texture that makes your cheesecake feel indulgent and fluffy.
4. Pour and chill: Carefully pour the cheesecake filling over your prepared crust, smoothing out the top with a spatula. Cover with plastic wrap and refrigerate for at least 4 hours or until set.
5. Serve and enjoy: Once chilled, gently remove the cheesecake from the springform pan. Slice into wedges, serve on plates, and enjoy every delightful bite of your Rice Krispy Treat No-Bake Cheesecake!
Optional: Garnish with chocolate drizzle or colorful sprinkles for an extra fun touch!
Exact quantities are listed in the recipe card below.
Expert Tips
- Perfectly Melted Marshmallows: Ensure your marshmallows melt completely for a smooth mixture; this prevents a gritty texture in your Rice Krispy Treat No-Bake Cheesecake.
- Room Temperature Cream Cheese: Use softened cream cheese to blend easily without lumps, creating that creamy base essential for your cheesecake.
- Chill Time Matters: Allow at least 4 hours of chilling time before serving; this helps the cheesecake set properly and enhances the flavors.
- Avoid Sticky Fingers: Lightly grease your hands when pressing down the Rice Krispy layer; this keeps it from sticking and makes assembly a breeze.
- Flavor Variations: Experiment with add-ins like chocolate chips or fruit puree for unique twists on the classic Rice Krispy Treat No-Bake Cheesecake.
How to Store and Freeze Rice Krispy Treat No-Bake Cheesecake
- Room Temperature: This delightful cheesecake is best enjoyed fresh, but if needed, it can sit at room temperature for up to 2 hours before serving.
- Fridge: Store any leftovers in an airtight container in the fridge for up to 5 days. This keeps your Rice Krispy Treat No-Bake Cheesecake creamy and delicious!
- Freezer: If you want to save some for later, wrap individual slices in plastic wrap and then place them in a freezer-safe container. They’ll stay fresh for up to 2 months.
- Reheating: While this dessert is best served chilled, if you prefer a softer texture, let it sit at room temperature for about 15 minutes before enjoying.
Rice Krispy Treat No-Bake Cheesecake Variations
Unlock your creativity and make this delightful dessert your own with some fun twists and substitutions!
- Dairy-Free: Substitute cream cheese with a dairy-free alternative and use coconut whipped cream for a luscious finish. Your cheesecake will be just as creamy, with a hint of tropical flair.
- Chocolate Drizzle: Melt dark chocolate and drizzle over the top before serving. This adds an indulgent layer of flavor that pairs beautifully with the sweet marshmallow.
- Fruit-Filled: Fold in fresh berries or sliced bananas into the cheesecake mixture for added freshness. The fruity bursts create a lovely contrast to the rich, smooth filling.
- Nutty Crunch: Add crushed nuts into the crust or sprinkle on top for a satisfying crunch. Almonds or pecans provide a delightful texture that balances the creaminess perfectly.
- Spiced Up: Incorporate a teaspoon of cinnamon or pumpkin spice into the cheesecake mix for a warm, cozy flavor. This twist is perfect for autumn gatherings or any time you crave something comforting.
- Caramel Swirl: Drizzle caramel sauce into the cheesecake batter before chilling. This creates beautiful swirls and an extra layer of sweetness that will have everyone coming back for seconds.
- S’mores Style: Mix in mini marshmallows and crushed graham crackers along with chocolate chips. You’ll capture that campfire vibe in every delicious bite!
- Zesty Lemon: Add lemon zest and juice to brighten the flavors of your cheesecake. This refreshing twist will elevate your dessert to new heights, perfect for springtime celebrations!
Make Ahead Options
Preparing a Rice Krispy Treat No-Bake Cheesecake ahead of time is a brilliant way to save time and ensure you have a delightful dessert ready for any occasion. You can make the Rice Krispy crust and cheesecake filling up to 24 hours in advance. Simply prepare the crust by mixing 3 cups of Rice Krispies, 4 tablespoons of melted butter, and 10 ounces of marshmallows, then press it into your pan and refrigerate it. For the cheesecake filling, combine 16 ounces of cream cheese, 1 cup of powdered sugar, and 1 teaspoon of vanilla extract, and store it in an airtight container in the fridge. When you’re ready to serve, simply spread the filling over the chilled crust and let it set for about 30 minutes before slicing. To maintain that delightful crunch, consider adding any toppings just before serving. This way, you’ll have a show-stopping Rice Krispy Treat No-Bake Cheesecake that’s not only easy to prepare but also perfect for meal prep!
Rice Krispy Treat No-Bake Cheesecake Recipe FAQs
What type of cream cheese should I use?
For the best flavor and texture, opt for full-fat cream cheese that’s softened to room temperature. This will ensure a smooth and creamy cheesecake filling. If you’re looking for a lighter alternative, consider using a reduced-fat cream cheese, but keep in mind the texture might be slightly less rich.
How should I store leftovers?
Store your Rice Krispy Treat No-Bake Cheesecake in an airtight container in the refrigerator. It will stay fresh for about 3-5 days. Just make sure to cover it well to prevent it from absorbing any odors from your fridge!
Can I freeze this cheesecake?
Absolutely! To freeze, cut the cheesecake into slices and wrap them tightly in plastic wrap, then place them in a freezer-safe container. It can last up to 2-3 months in the freezer. When you’re ready to enjoy it, simply thaw it in the refrigerator for a few hours or overnight—trust me, it’s worth the wait!
What if my cheesecake doesn’t set properly?
If your cheesecake is still too soft after chilling for the recommended time (at least 4 hours), it may need more time in the fridge. Ensure you’ve used enough gelatine or whipped cream to stabilize it. If you encounter this issue, try adding an extra tablespoon of gelatine dissolved in water next time; this helps achieve that perfect firm texture.
Is there a gluten-free option for this recipe?
Yes! You can easily make this no-bake cheesecake gluten-free by using gluten-free Rice Krispies or any similar gluten-free puffed rice cereal. Always check labels for hidden gluten ingredients if you’re catering to someone with allergies or sensitivities.
Can I add other flavors or toppings?
Certainly! This cheesecake is incredibly versatile. Feel free to mix in some vanilla extract or lemon zest into the filling for extra flavor. Topping your cheesecake with fresh berries, chocolate drizzle, or even crushed candy bars can elevate it further—let your creativity shine!