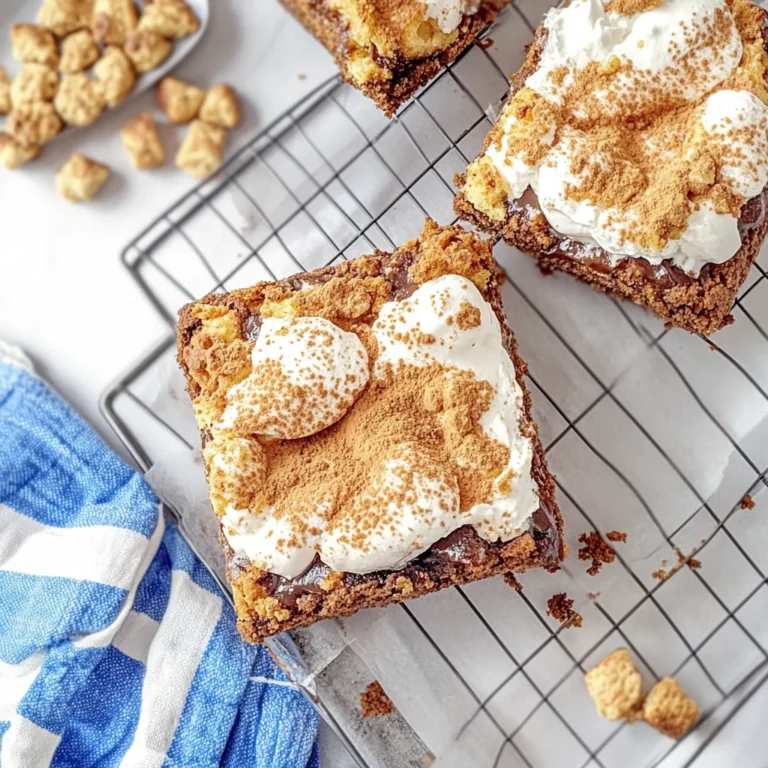
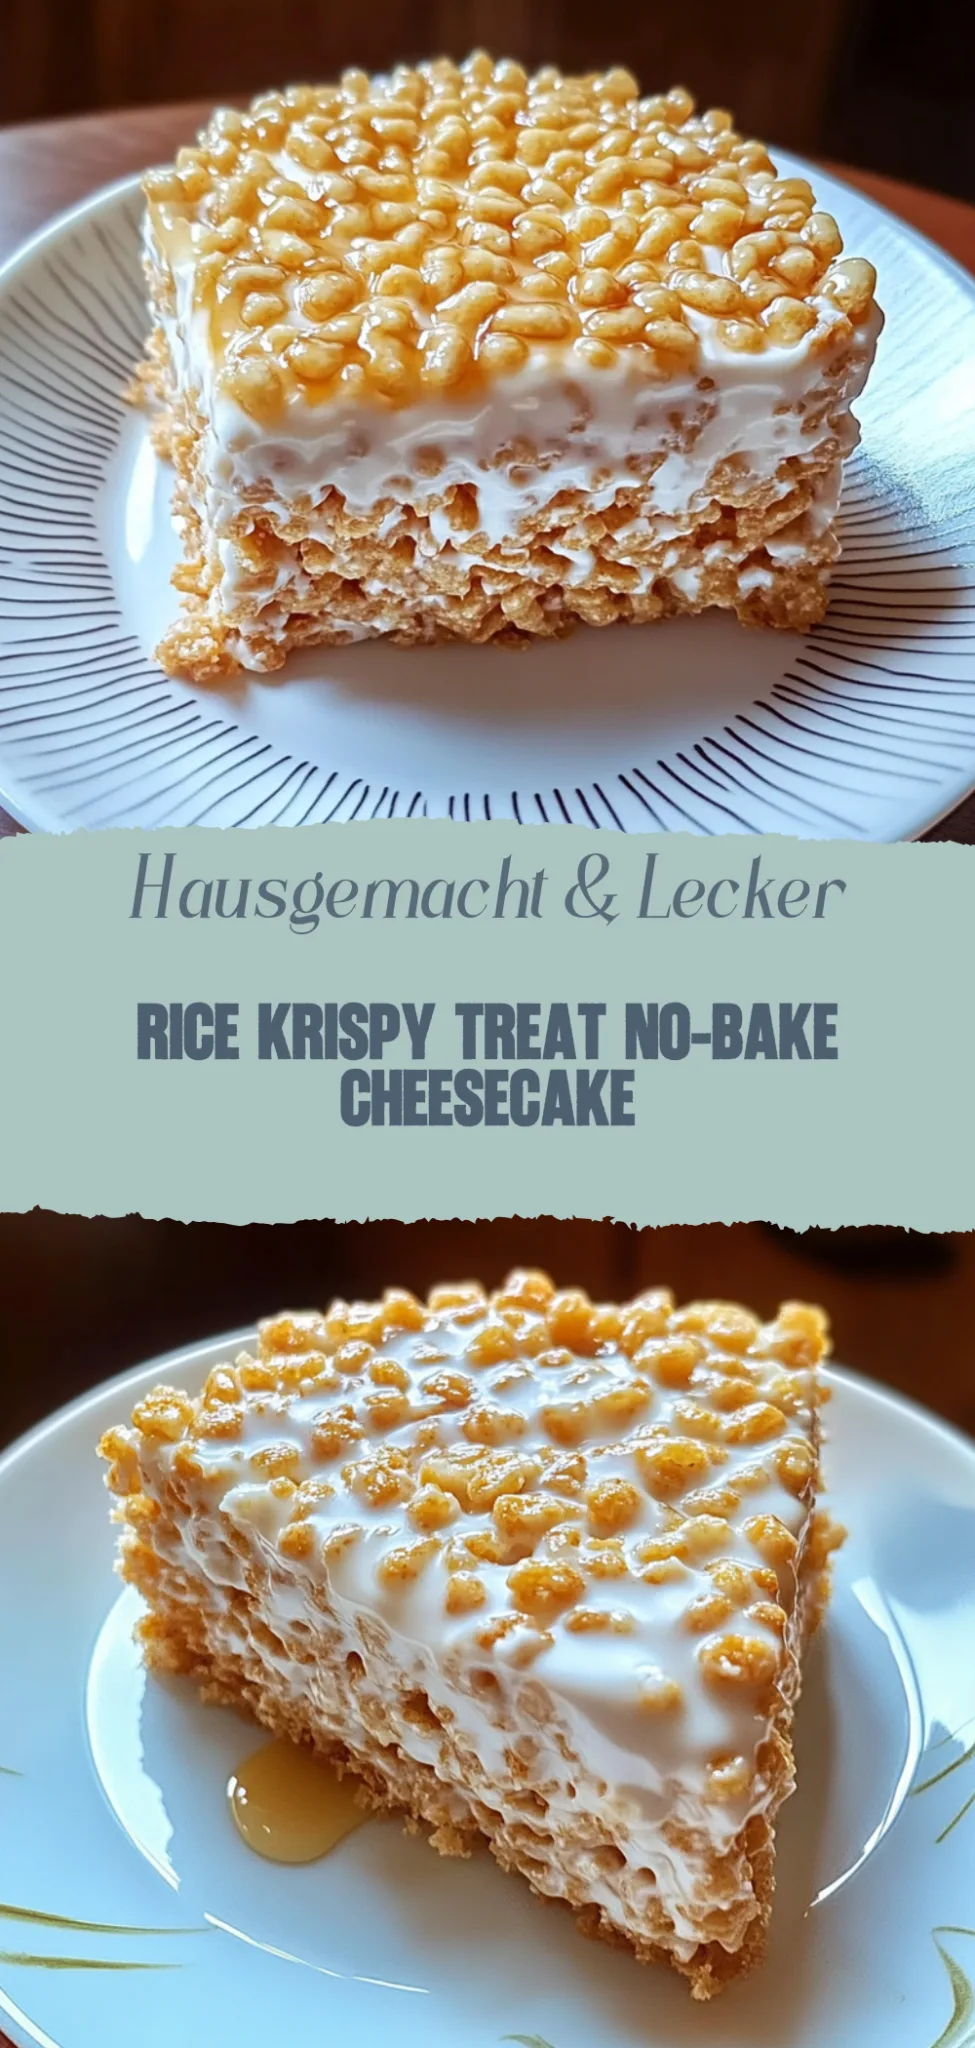
Rice Krispy Treat No-Bake Cheesecake: Decadent Delight Aw…
Imagine biting into a warm, gooey slice of chocolate cake, where the rich aroma envelops you like a cozy blanket on a chilly evening. Each mouthful is a delightful dance of velvety chocolate and just the right hint of sweetness, leaving you craving another bite and evoking memories of childhood birthdays filled with laughter and joy.
This decadent dessert isn’t just for special occasions; it turns any day into a celebration, whether you’re hosting friends for game night or simply indulging yourself after a long week. With every forkful, you’ll experience an explosion of flavor that makes your taste buds sing, reminding you that sometimes the simplest pleasures in life are the most extraordinary.
Why is Rice Krispy Treat No-Bake Cheesecake irresistible?
Deliciously unique: This dessert combines the nostalgic crunch of Rice Krispy treats with the creamy richness of cheesecake.
No baking required: Perfect for hot days or when you’re short on time, whip it up in minutes!
Crowd-pleaser: Kids and adults alike will love this fun twist on a classic favorite.
Versatile flavors: Customize with your favorite toppings or mix-ins for endless variations.
Effortlessly impressive: Serve it at parties, and watch as everyone raves about your delightful creation!
Rice Krispy Treat No-Bake Cheesecake Ingredients
For the Crust:
- 3 cups Rice Krispies cereal – Provides a crunchy base; you can substitute with any puffed rice cereal if desired.
- 1/2 cup unsalted butter (melted) – Helps bind the crust together; coconut oil can be a dairy-free alternative.
- 1/4 cup granulated sugar – Sweetens the crust; feel free to reduce for a less sweet option.
For the Cheesecake Filling:
- 8 oz cream cheese (softened) – Essential for that creamy texture; use mascarpone for a richer flavor.
- 1/2 cup powdered sugar – Adds sweetness and smoothness; adjust to taste if you prefer it less sweet.
- 1 teaspoon vanilla extract – Enhances the flavor profile; consider almond extract for a different twist.
- 1 cup heavy whipping cream – Whipped until soft peaks form for a light, airy texture in your cheesecake.
For Topping:
- 1/2 cup mini marshmallows – Adds that classic Rice Krispy treat feel; you can omit for a simpler look.
- 1/4 cup chocolate chips – Drizzle or sprinkle on top for added sweetness; use white chocolate chips for a fun variation.
Enjoy creating this delightful Rice Krispy Treat No-Bake Cheesecake that’s perfect for family gatherings!
How to Make Rice Krispy Treat No-Bake Cheesecake
1. Prepare the crust: In a large bowl, combine melted butter and marshmallows with Rice Krispies. Mix gently until coated, then press it firmly into the bottom of a springform pan.
2. Make the filling: In another bowl, beat cream cheese until smooth. Gradually add powdered sugar and vanilla extract, mixing until creamy and fluffy, about 3-4 minutes.
3. Fold in whipped cream: Carefully incorporate the whipped cream into the cream cheese mixture using a spatula. This adds lightness and creates that airy cheesecake texture we all love!
4. Assemble the cheesecake: Pour the filling over the prepared Rice Krispy crust. Use a spatula to spread it evenly, smoothing out the top for a beautiful finish.
5. Chill: Cover the cheesecake with plastic wrap and refrigerate for at least 4 hours or until set. Patience is key here; this allows all those delightful flavors to meld together!
6. Serve and enjoy: Once chilled, remove from the springform pan. Slice into pieces and serve with your favorite toppings—think chocolate drizzle or fresh fruit!
Optional: Top with crushed candies for an extra crunch!
Exact quantities are listed in the recipe card below.
Expert Tips for Rice Krispy Treat No-Bake Cheesecake
- Perfectly Soft Base: Ensure your marshmallows are fully melted and combined with the Rice Krispies to create a smooth, cohesive mixture.
- Chill Time Matters: Allow your cheesecake to chill for at least 4 hours; this helps it set properly and enhances the flavors of your Rice Krispy Treat No-Bake Cheesecake.
- Avoid Sticky Hands: Lightly grease your hands when pressing the Rice Krispy mixture into the pan to prevent it from sticking to you.
- Flavor Variations: Don’t hesitate to mix in chocolate chips or nuts for added texture and flavor, making your Rice Krispy Treat No-Bake Cheesecake even more delightful.
- Cutting Technique: Use a sharp knife dipped in warm water for clean slices; this prevents the cheesecake from crumbling as you serve.
How to Store and Freeze Rice Krispy Treat No-Bake Cheesecake
Room Temperature: Enjoy your Rice Krispy Treat No-Bake Cheesecake for up to 2 hours at room temperature, but be sure to keep it covered to maintain freshness.
Fridge: Store leftovers in an airtight container in the fridge for up to 5 days. This helps keep the cheesecake creamy and delicious!
Freezer: For longer storage, freeze pieces of the cheesecake wrapped in plastic wrap and then foil for up to 3 months. Thaw in the fridge before serving.
Reheating: There’s no need to reheat this dessert! Simply let it sit at room temperature for about 15 minutes before enjoying for the best texture.
Rice Krispy Treat No-Bake Cheesecake Variations
Customize your cheesecake with these delightful twists that will tickle your taste buds and spark your creativity!
- Dairy-Free: Substitute cream cheese with vegan alternatives and use coconut cream for a luscious texture. Your cheesecake will still be creamy and indulgent, keeping everyone happy.
- Chocolate Lovers: Add cocoa powder or melted chocolate to the cream cheese mixture for a rich, chocolaty flavor. This variation transforms your dessert into a chocolate lover’s paradise!
- Fruit-Infused: Swirl in fruit purees like strawberry or raspberry for a fresh twist. The vibrant colors and flavors bring a burst of summer to every bite.
- Nutty Crunch: Mix in chopped nuts or nut butter for added texture and flavor depth. The crunch perfectly complements the creamy filling, making each slice exciting.
- Spiced Up: Incorporate cinnamon or pumpkin spice into the filling for a warm, inviting aroma. This twist is perfect for cozy gatherings, bringing an extra layer of comfort to your dessert.
- Caramel Drizzle: Top with homemade caramel sauce for an ooey-gooey finish. That sweet drizzle adds decadence and invites everyone to dig in!
- Lemon Zest: Add lemon juice and zest to the filling for a refreshing citrus kick. This brightens the flavors beautifully, making it light and zesty.
- S’mores Style: Layer crushed graham crackers and mini marshmallows on top, then lightly toast them. This fun twist captures the essence of campfire treats in every bite!
Make Ahead Options
Preparing a Rice Krispy Treat No-Bake Cheesecake in advance is a fantastic way to save time and ensure you have a delicious dessert ready for any occasion. You can make the Rice Krispy crust up to 3 days ahead; simply combine 4 cups of Rice Krispies with 1 cup of melted butter and 10 ounces of marshmallows, then press it into your cheesecake pan. Store it tightly covered at room temperature. The cheesecake filling can also be prepared a day ahead—mix 16 ounces of cream cheese with 1 cup of powdered sugar and 1 teaspoon of vanilla until smooth, then refrigerate it. When you’re ready to serve, spread the filling over your crust, let it set for at least an hour, and enjoy this delightful no-bake treat!
Rice Krispy Treat No-Bake Cheesecake Recipe FAQs
What type of cream cheese is best for this recipe?
For a smooth and creamy texture, I recommend using full-fat cream cheese. It gives that rich flavor we all love in cheesecakes. Make sure it’s at room temperature before mixing; this helps avoid lumps and ensures a velvety finish.
How should I store leftover Rice Krispy Treat No-Bake Cheesecake?
Store any leftovers in an airtight container in the refrigerator. It should stay fresh for about 3-5 days. If you notice the top starting to lose its luster, cover it lightly with plastic wrap to keep it moist and delicious!
Can I freeze this cheesecake for later enjoyment?
Absolutely! To freeze, slice the cheesecake into individual portions and wrap each slice tightly in plastic wrap, then place them in a freezer-safe container or bag. It can be frozen for up to 2 months. Just thaw it overnight in the refrigerator when you’re ready to indulge again!
What if my Rice Krispy layer is too hard or too soft?
If your Rice Krispy layer is too hard, try gently reheating the marshmallows with a splash of butter until they soften, then mix again while adding more Rice Krispies if needed. For a softer layer, reduce the amount of marshmallows next time or ensure they’re fully melted but not overcooked.
Is there a gluten-free option for this no-bake cheesecake?
Yes! You can easily make this dish gluten-free by using gluten-free Rice Krispies and ensuring that your other ingredients, like graham crackers (if used), are also certified gluten-free. It’s just as delightful and perfect for everyone at the table!
Can I substitute any ingredients to make this cheesecake dairy-free?
Certainly! For a dairy-free version, use vegan cream cheese alternatives available at most grocery stores. Also, swap out regular butter for coconut oil or vegan butter in your Rice Krispy layer. You’ll still get that satisfying taste without compromising on flavor!