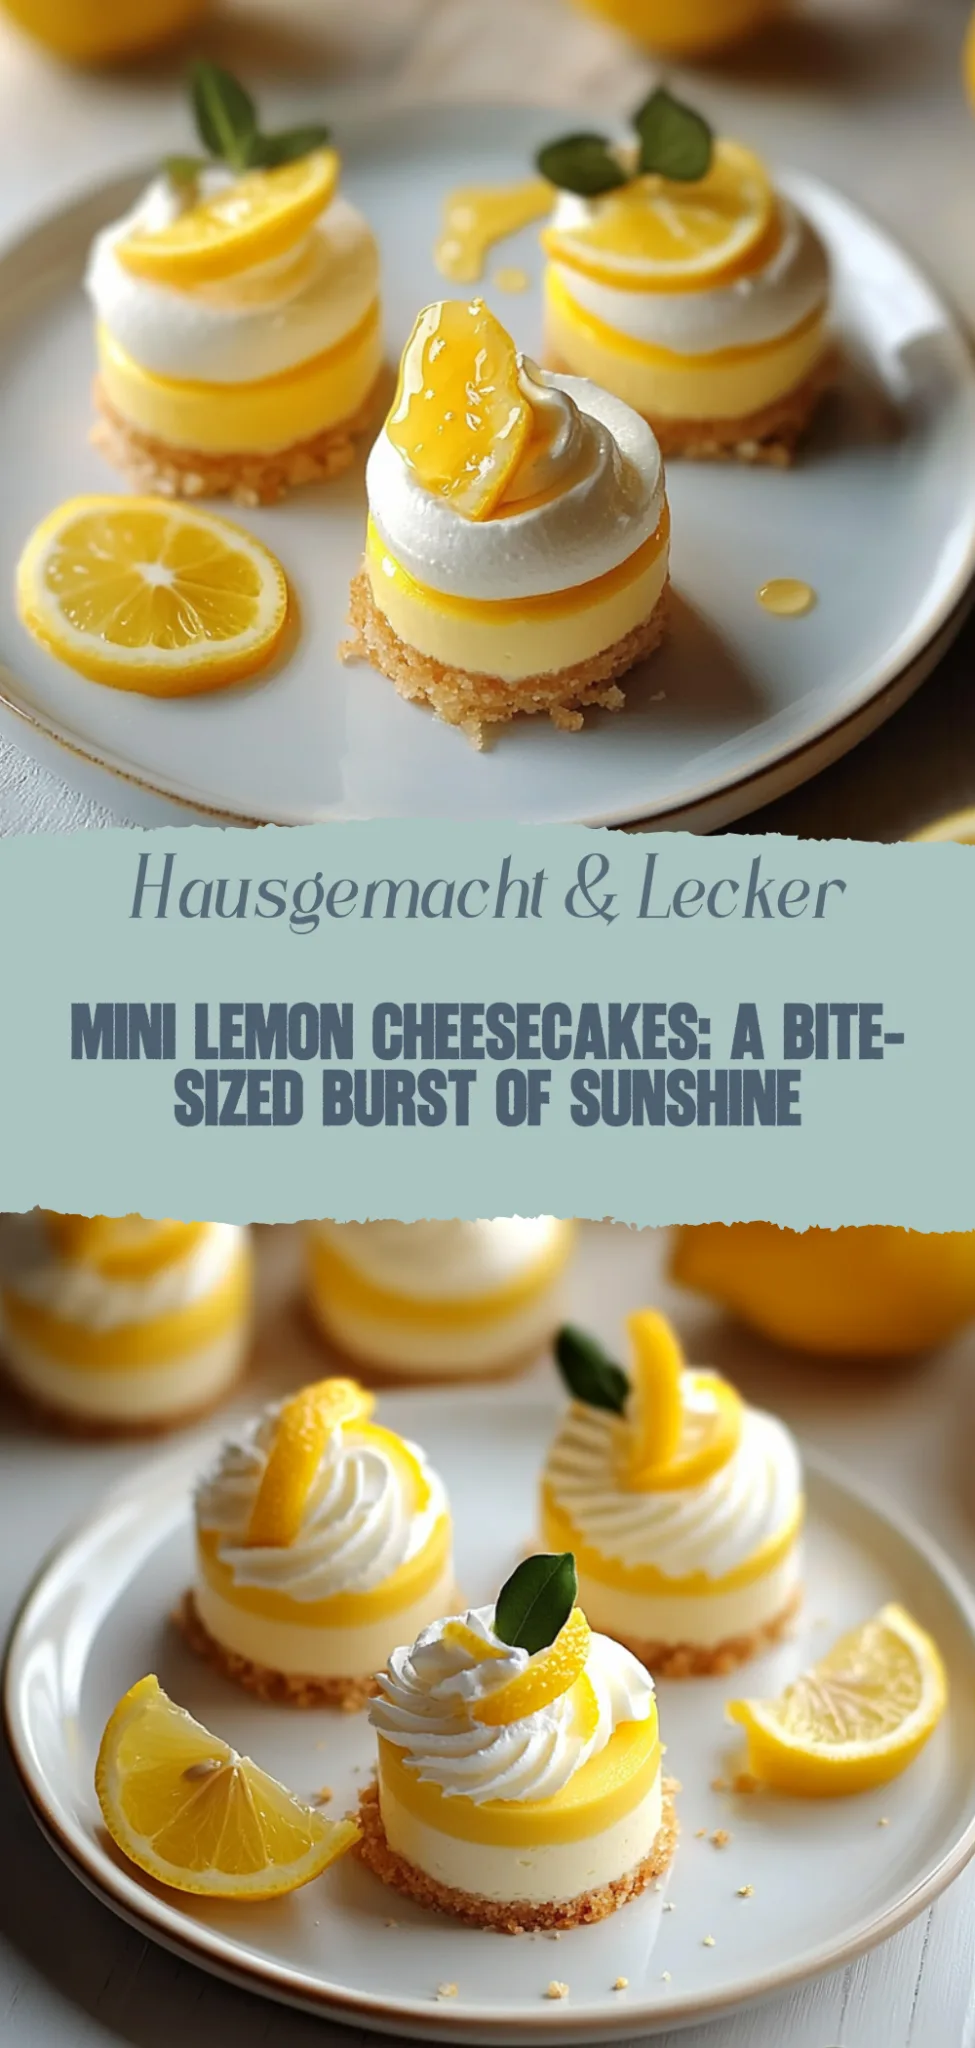
Mini Lemon Cheesecakes: A Bite-Sized Burst of Sunshine
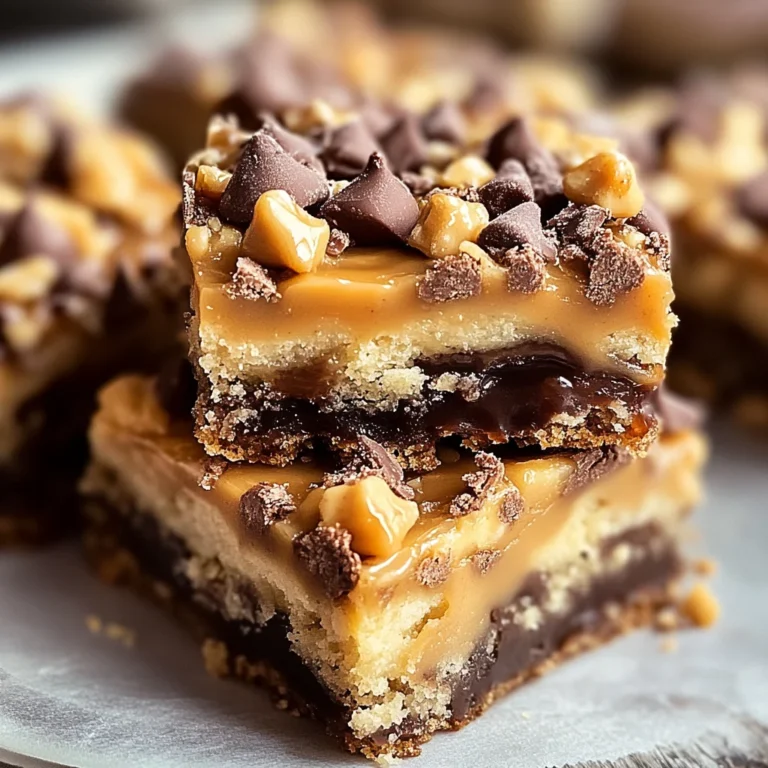
Imagine sinking your teeth into a warm, gooey slice of chocolate chip cookie pie, where the rich, buttery aroma envelops you like a cozy blanket on a chilly evening. Each bite is a delightful dance of melty chocolate and soft cookie dough that evokes memories of baking with loved ones, filling the kitchen with laughter and sweet scents that linger long after the last piece is gone.
This indulgent dessert isn’t just for special occasions; it’s the perfect companion for game nights, lazy Sundays, or any moment when you crave a taste of nostalgia. Picture gathering with friends, sharing stories while savoring this decadent treat—it’s an experience that promises to elevate any gathering into an unforgettable celebration of flavor and joy.
Mini Lemon Cheesecakes: A Bite-Sized Burst of Sunshine
Why you’ll adore these treats:
- Bright flavors make every bite a delight!
- Easy to whip up, perfect for beginners.
- Versatile enough for any occasion, from brunch to parties.
- Crowd-pleaser: everyone will be asking for seconds!
- Time-saving: ready in just 30 minutes!
Enjoy a little sunshine in each mini cheesecake!
Mini Lemon Cheesecakes Ingredients
For the Cheesecake Filling:
- 16 oz cream cheese (softened) – This is the base for a rich, creamy cheesecake; full-fat gives the best texture.
- 1 cup granulated sugar – Sweetens and balances the tartness of the lemons; can substitute with coconut sugar for a healthier option.
- 2 large eggs – Essential for binding; make sure they’re at room temperature for easier mixing.
- 1/4 cup sour cream – Adds extra creaminess and a slight tang; Greek yogurt can be used as a substitute.
- 1 tablespoon all-purpose flour – Helps stabilize the filling; omit if you want a gluten-free version.
- 1/4 cup fresh lemon juice – Provides that delightful citrus zing; freshly squeezed is always best.
- Zest of 1 lemon – Enhances the lemon flavor and aroma; use a microplane for finely grated zest.
For the Crust:
- 1 1/2 cups graham cracker crumbs – Forms a delicious, buttery base; you can use crushed digestive biscuits as an alternative.
- 1/4 cup granulated sugar – Sweetens the crust just enough to balance flavors; adjust to taste if desired.
- 1/2 cup unsalted butter (melted) – Binds the crumbs together and adds richness; coconut oil works for a dairy-free option.
For Garnishing:
- Whipped cream (for topping) – Lightens up each bite and adds an extra layer of indulgence; use store-bought or homemade.
- Lemon slices (for decoration) – Fresh slices add visual appeal and hint at the flavor inside these mini cheesecakes.
Enjoy your Mini Lemon Cheesecakes: A Bite-Sized Burst of Sunshine!
How to Make Mini Lemon Cheesecakes: A Bite-Sized Burst of Sunshine
1. Prepare the crust: In a mixing bowl, combine crushed graham crackers, melted butter, and sugar until crumbly. Press this mixture into the bottom of mini muffin tins for a delightful base.
2. Mix the filling: In another bowl, beat cream cheese until smooth. Add sugar, lemon juice, and zest, mixing until creamy and well-combined. This fragrant filling will be the star of your cheesecakes!
3. Fill the cups: Spoon the cheesecake mixture over the prepared crusts, filling each cup about three-quarters full. This allows room for rising while baking to ensure a lovely texture.
4. Bake: Preheat your oven to 325°F (160°C) and bake for 15-18 minutes until set but slightly jiggly in the center. They will firm up as they cool, offering the perfect creamy bite!
5. Cool down: Remove from oven and let them cool in the pan for about 10 minutes before transferring to a wire rack. This helps avoid cracks in your cheesecakes!
6. Chill: Refrigerate the mini cheesecakes for at least 2 hours before serving. Chilling lets flavors meld beautifully and enhances that refreshing lemony taste.
Optional: Top with whipped cream or fresh berries for an extra burst of flavor!
Exact quantities are listed in the recipe card below.
Tips for the Best Mini Lemon Cheesecakes: A Bite-Sized Burst of Sunshine
- Room Temperature Ingredients: Ensure your cream cheese and eggs are at room temperature for a smooth batter, preventing lumps in your mini lemon cheesecakes.
- Zest with Care: Use a microplane to zest your lemons lightly. Avoid the bitter white pith for a bright, refreshing flavor that enhances your cheesecakes.
- Avoid Overmixing: Mix just until combined to maintain a light texture. Overmixing can lead to dense cheesecakes—aim for fluffy perfection!
- Chill Time Matters: Allow the mini lemon cheesecakes to chill for at least 4 hours or overnight. This enhances their flavor and ensures they set properly.
- Garnish Wisely: Top with fresh berries or whipped cream just before serving. This adds not only visual appeal but also additional layers of flavor.
How to Store and Freeze Mini Lemon Cheesecakes: A Bite-Sized Burst of Sunshine
- Room Temperature: Enjoy your mini lemon cheesecakes at room temperature for up to 2 hours, perfect for serving at gatherings or sunny picnics.
- Fridge: Store in an airtight container in the fridge for up to 5 days. This keeps their creamy texture and zesty flavor fresh and delightful.
- Freezer: For longer storage, freeze individual cheesecakes wrapped tightly in plastic wrap and then in foil for up to 2 months. Thaw them in the fridge overnight before serving.
- Reheating: If you prefer a slightly warm treat, pop them in the microwave for about 10 seconds. Just enough to bring back that delicious creaminess without losing their charming taste!
Mini Lemon Cheesecakes: A Bite-Sized Burst of Sunshine
Elevate your baking experience by personalizing these delightful treats to suit your taste and dietary needs.
- Dairy-Free: Substitute cream cheese with a plant-based alternative and use coconut milk for the filling. This way, everyone can enjoy a creamy texture without the dairy.
- Gluten-Free: Use almond flour or gluten-free cookie crumbs for the crust. Your cheesecakes will still have that satisfying crunch without any gluten.
- Berry Bliss: Fold in fresh blueberries or raspberries into the cheesecake mixture for a fruity twist. The tartness beautifully complements the lemony goodness!
- Chocolate Drizzle: Melt dark chocolate and drizzle it over each cheesecake before serving. This adds an indulgent layer that turns every bite into a mini celebration.
- Citrus Medley: Mix in lime or orange zest along with the lemon for a zesty explosion of flavors. A combination of citrus can make your cheesecakes uniquely refreshing!
- Spicy Kick: Add a pinch of cayenne pepper to the crust for a surprising heat. It’s a fun way to surprise your taste buds with a little warmth!
- Nutty Crust: Swap out traditional cookies for ground pecans or walnuts in the crust. This not only adds flavor but also gives an extra crunch that’s simply irresistible.
- Mini Meringues: Top each cheesecake with homemade meringue for an elegant finish. The airy sweetness creates a delightful contrast to the creamy filling beneath!
Make Ahead Options
Mini Lemon Cheesecakes: A Bite-Sized Burst of Sunshine are perfect for meal prep, allowing you to enjoy their delightful tanginess with minimal effort on the day of your event. You can prepare the crust and filling separately up to 24 hours in advance. Simply crush 1 cup of graham crackers and mix with 4 tablespoons of melted butter for the crust; store it in an airtight container. For the filling, blend 16 oz of cream cheese, ½ cup of sugar, and 2 large eggs until smooth and creamy, then refrigerate it in a separate container. On the day you plan to serve them, just assemble by layering the crust into mini cups followed by the chilled filling and bake for approximately 15 minutes. To maintain that fresh taste, be sure to cover them well while stored and consume within 3 days for best quality. Enjoy these little bites of sunshine any time!
Mini Lemon Cheesecakes: A Bite-Sized Burst of Sunshine Recipe FAQs
How do I select the best lemons for my mini cheesecakes?
When choosing lemons, look for ones that are firm, smooth, and vibrantly colored. They should feel heavy for their size, indicating juiciness. A good rule of thumb is to use fresh lemons; avoid those with blemishes or soft spots for the freshest flavor in your lemon cheesecakes.
What’s the best way to store leftover mini lemon cheesecakes?
Store your delicious mini lemon cheesecakes in an airtight container in the refrigerator. They will stay fresh for up to 5 days. If you want them to last a bit longer, place them in a single layer, separated by parchment paper, to prevent sticking.
Can I freeze mini lemon cheesecakes? How do I do it?
Absolutely! You can freeze these delightful treats for up to 2 months. To freeze, let them cool completely, then wrap each cheesecake tightly in plastic wrap and place them in a freezer-safe container. When you’re ready to enjoy them again, simply thaw them overnight in the fridge before serving!
What should I do if my cheesecake filling is too runny?
If you find your cheesecake filling is too runny after mixing, don’t worry! This often happens when the cream cheese isn’t softened enough or if it’s overmixed. Try adding an extra tablespoon of cornstarch to help thicken it up. Also, ensure that your cream cheese is at room temperature before blending; this helps achieve that perfect consistency.
Are there any dietary alternatives I can use for this recipe?
Certainly! For a gluten-free option, substitute regular graham crackers with gluten-free cookies or almond flour crusts. If you need a dairy-free version, try using vegan cream cheese and coconut milk instead of sour cream. These alternatives maintain the rich flavor while accommodating various dietary needs.
Can I adjust the sweetness level of my mini cheesecakes?
Yes! If you prefer a less sweet cheesecake, simply reduce the sugar by a couple of tablespoons. Alternatively, you can use natural sweeteners like honey or maple syrup for a different flavor profile while adjusting sweetness to taste. Just keep in mind that this may slightly alter the texture!