Homemade Samoas Cookies: Irresistibly Chewy Delight
Imagine savoring a warm, gooey slice of chocolate chip cookie pie, where the rich aroma of melted chocolate mingles with the buttery scent of freshly baked dough. Each bite is a delightful explosion of flavors and textures, from the crispy edges to the soft, chewy center that practically melts in your mouth, making it an irresistible treat any time of day.
This dessert isn’t just about indulgence; it carries a nostalgic charm that transports you back to family gatherings or cozy evenings spent baking alongside loved ones. Whether celebrating a birthday or simply craving something sweet after dinner, this cookie pie promises to elevate any occasion, leaving everyone eagerly reaching for seconds and reminiscing about their own cherished moments.
Why will you adore Homemade Samoas Cookies?
Indulge in the perfect blend of flavors with Homemade Samoas Cookies that deliver a taste of nostalgia!
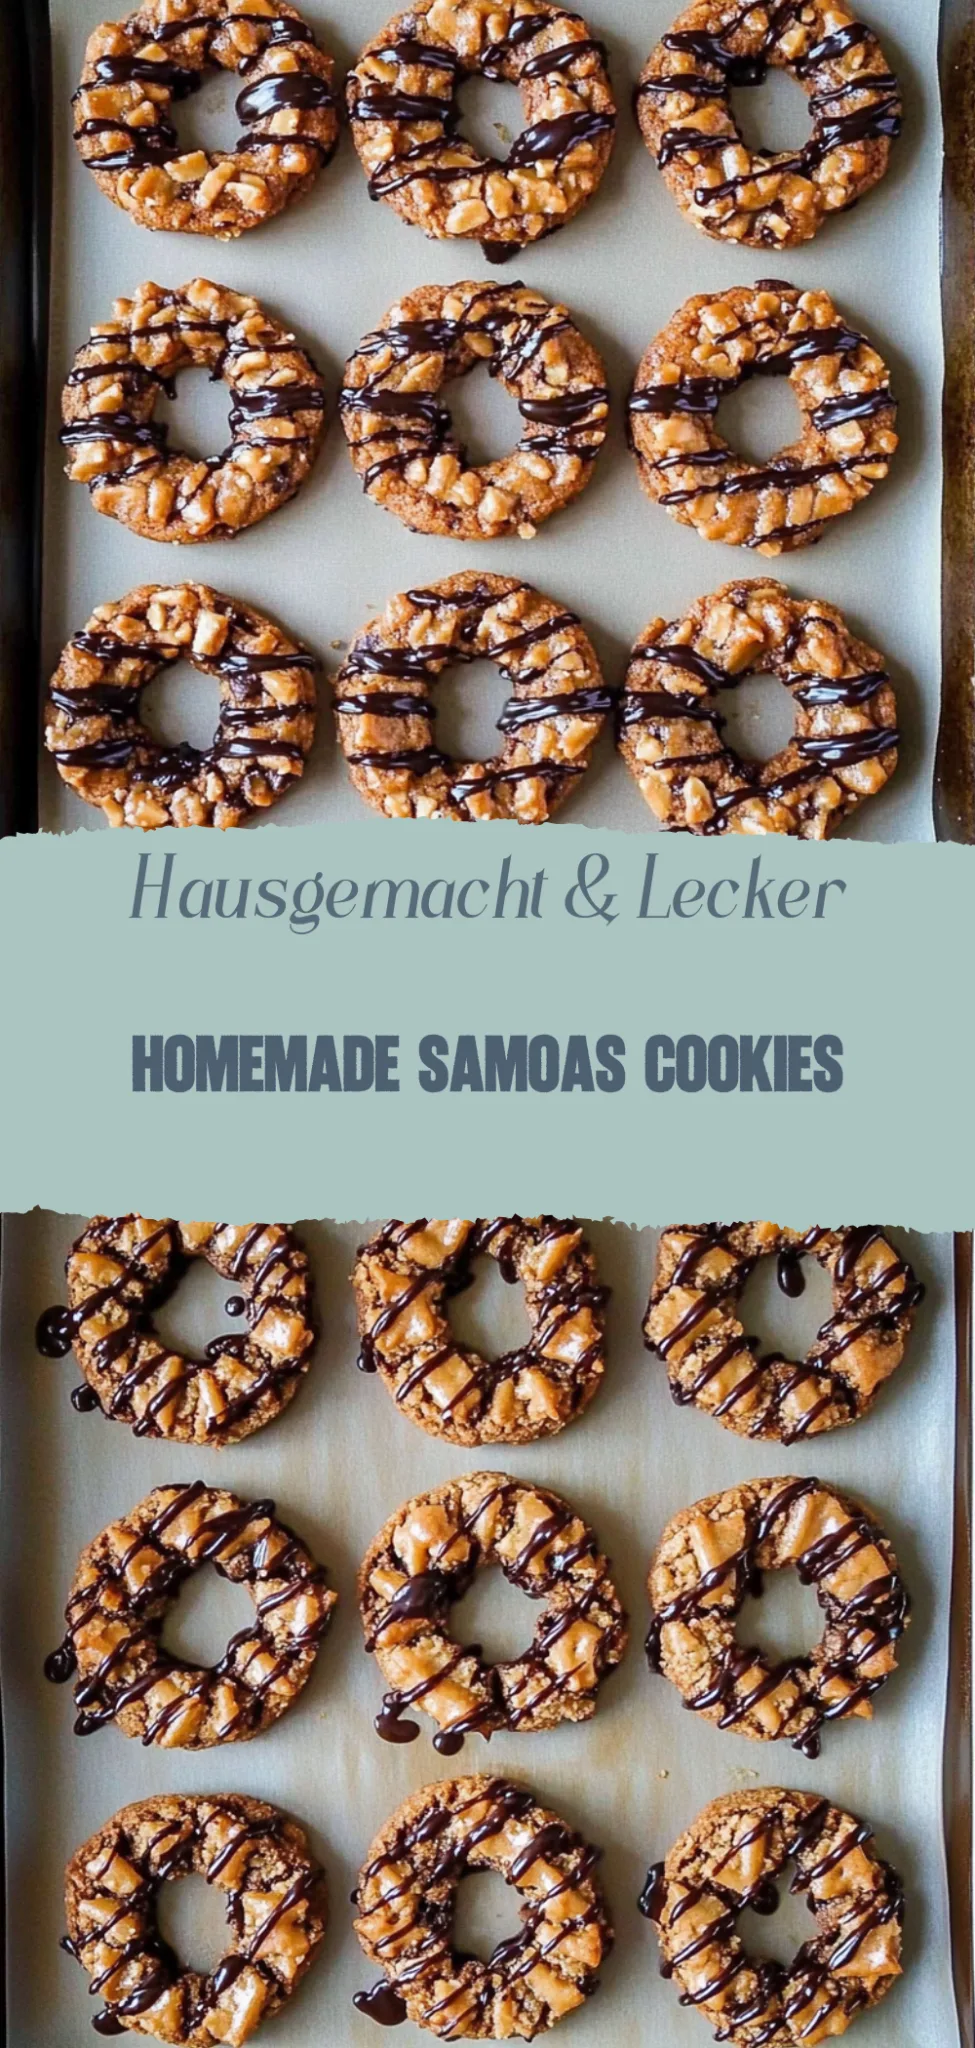
- Irresistible caramel and coconut topping for a sweet treat.
- Simple to make, even if you’re a beginner baker!
- Versatile enough for any occasion—perfect for parties or a cozy night in.
- Crowd-pleaser that will impress family and friends alike!
Treat yourself to these delightful cookies that are sure to become a beloved favorite.
Homemade Samoas Cookies Ingredients
For the Cookie Base:
- 2 cups all-purpose flour – Provides structure; you can substitute with gluten-free flour if needed.
- 1/4 cup granulated sugar – Sweetens the dough; brown sugar can add a richer flavor.
- 1/2 cup unsalted butter (softened) – Brings richness; ensure it’s at room temperature for easy mixing.
- 1/4 teaspoon salt – Balances the sweetness; feel free to use sea salt for a gourmet touch.
- 1/4 teaspoon baking powder – Helps the cookies rise slightly for a tender texture.
- 1 large egg – Binds the ingredients together; can be replaced with a flax egg for vegan options.
For the Coconut Caramel Topping:
- 2 cups sweetened shredded coconut – Adds chewiness and that classic Samoa flavor; toasting enhances the taste.
- 1 cup caramel sauce (store-bought or homemade) – Provides that gooey, irresistible layer; make sure it’s warmed for easier spreading.
- 1 tablespoon milk or heavy cream – Thin the caramel if it’s too thick for spreading.
For the Chocolate Drizzle:
- 8 oz semi-sweet chocolate chips – Melts smoothly for drizzling; dark chocolate works well if you prefer less sweetness.
- 1 teaspoon coconut oil – Keeps the chocolate smooth and helps it set nicely after drizzling.
Enjoy baking these delightful Homemade Samoas Cookies that are sure to become a family favorite!
How to Make Homemade Samoas Cookies
1. Preheat your oven to 350°F (175°C). This ensures that your cookies bake evenly and develop that perfect golden-brown color we all love.
2. Mix the dry ingredients in a bowl. Combine flour, baking soda, and salt, making sure to whisk well so that everything is evenly distributed for a consistent texture.
3. Cream the butter and sugars together in a large mixing bowl until light and fluffy. This usually takes about 3-4 minutes; it’s key for achieving that delightful cookie structure.
4. Add the egg and vanilla extract, mixing until fully incorporated. The mixture should be smooth and creamy, filling your kitchen with a warm, inviting aroma.
5. Combine the wet and dry ingredients gradually. Stir until just combined; be careful not to overmix as this can lead to tough cookies.
6. Scoop tablespoon-sized portions of dough onto a lined baking sheet. Leave some space between them as they will spread while baking—about 2 inches apart should do!
7. Bake in the preheated oven for 10-12 minutes or until the edges are lightly golden. Keep an eye on them; you want chewy centers with crispy edges.
8. Cool the cookies on a wire rack for about 5 minutes before transferring them to cool completely. This helps them set up nicely for the next steps!
9. For the Topping:
- Toast shredded coconut in a dry skillet over medium heat until golden brown, stirring frequently to avoid burning—this should take about 3-5 minutes.
- Melt chocolate chips in a microwave-safe bowl, heating in 30-second intervals until smooth and silky.
10. Assemble by dipping each cookie half into melted chocolate, then pressing toasted coconut on top while still warm. Let them set on parchment paper for that perfect finish!
Optional: Drizzle extra chocolate over the tops for an extra touch of sweetness.
Exact quantities are listed in the recipe card below.
Tips for the Best Homemade Samoas Cookies
- Chill the Dough: Allow your dough to chill for at least 30 minutes. This helps prevent spreading and ensures a nice, chewy texture in your Homemade Samoas Cookies.
- Quality Chocolate: Use high-quality chocolate for dipping. It melts better and will enhance the overall flavor of your cookies, making every bite irresistible.
- Coconut Toasting: Toast your coconut until golden brown before adding it to the caramel. This extra step brings out a deeper flavor and crunch in your Homemade Samoas Cookies.
- Avoid Overbaking: Keep an eye on the baking time! Overbaking can lead to dry cookies. Aim for just a hint of golden edges for that perfect chewy center.
- Sticky Caramel Tips: If your caramel is too sticky, lightly grease your hands while shaping it around the cookies. This keeps the process mess-free and enjoyable!
Storage Tips for Homemade Samoas Cookies
- Room Temperature: Store your homemade Samoas cookies in an airtight container to keep them fresh for up to 3 days, enjoying that delightful crunch!
- Fridge: For longer freshness, refrigerate the cookies in a sealed container. They can last up to a week while maintaining their flavor and texture.
- Freezer: Freeze your homemade Samoas cookies by placing them in a single layer in a freezer-safe bag. They can stay delicious for up to 3 months!
- Reheating: To enjoy them warm, reheat frozen cookies in the oven at 350°F (175°C) for about 5–7 minutes, bringing back that fresh-baked taste!
Homemade Samoas Cookies Variations
Customize your delightful treats with these fun twists and substitutions, making every bite uniquely yours!
- Gluten-Free: Substitute all-purpose flour with a 1:1 gluten-free blend for a deliciously chewy alternative. Your family won’t even notice the difference!
- Vegan: Use coconut oil in place of butter and flaxseed meal as an egg replacement for a plant-based version. These cookies will still bring smiles to your loved ones.
- Nut-Free: Replace the almond flour with oat flour or additional all-purpose flour to keep it safe for nut allergies. They’ll still taste amazing without compromising flavor!
- Chocolate Drizzle: Elevate your Samoas by adding a rich chocolate drizzle on top. Melt dark chocolate and drizzle it over cooled cookies for extra indulgence.
- Spicy Kick: Add a pinch of cayenne pepper to the caramel for an unexpected heat that balances the sweetness beautifully. This twist will surprise and delight adventurous eaters!
- Coconut Flakes: For extra texture, mix in some toasted coconut flakes into the cookie dough before baking. This will enhance the coconut flavor and create a delightful crunch.
- Minty Fresh: Incorporate peppermint extract into the chocolate coating for a refreshing minty version. Perfect for those who love a little zing in their sweets!
- Lemon Zest: Add lemon zest to the cookie dough for a bright citrus twist that complements the caramel beautifully. This refreshing change will make your homemade treats stand out!
Make Ahead Options
If you’re looking to save time without sacrificing flavor, these Homemade Samoas Cookies are perfect for meal prep. You can prepare the cookie base and coconut topping up to 24 hours in advance. Simply bake the cookies, let them cool completely, and store them in an airtight container at room temperature. The coconut mixture can be made a day ahead as well; just refrigerate it until you’re ready to assemble. When you’re ready to enjoy your delicious cookies, simply warm the caramel and coconut topping slightly to make spreading easier before drizzling with chocolate. This way, you’ll have homemade Samoas cookies ready to impress your family and friends with minimal last-minute effort!
Homemade Samoas Cookies Recipe FAQs
What type of coconut should I use for Homemade Samoas Cookies?
Look for sweetened shredded coconut for that delightful chewy texture and rich flavor. Unsweetened coconut can be used, but you may want to add a bit of extra sugar to achieve the perfect sweetness.
How should I store my Homemade Samoas Cookies?
Store your cookies in an airtight container at room temperature for up to a week. If you want to keep them fresh longer, consider refrigerating them, where they’ll stay good for about two weeks. Just make sure they’re well-wrapped!
Can I freeze my Homemade Samoas Cookies?
Absolutely! After baking and cooling, place your cookies in a single layer on a baking sheet and freeze until solid. Then transfer them to an airtight container or freezer bag, separating layers with parchment paper. They’ll last for about three months in the freezer. When you’re ready to enjoy, just let them thaw at room temperature.
Why are my Homemade Samoas Cookies too soft or crumbly?
If your cookies turn out too soft, it could be due to overmixing or too much butter. Make sure to measure accurately and mix just until combined. If they’re crumbly, try adding a teaspoon of milk or water to bring the dough together without compromising their texture.
Are there any dietary substitutions I can make in this recipe?
Certainly! For gluten-free options, substitute all-purpose flour with a 1: 1 gluten-free blend. If you’re looking for dairy-free alternatives, use coconut oil instead of butter and almond milk in place of regular milk. These swaps maintain the delicious flavor while accommodating different dietary needs.
How do I ensure my caramel stays soft when making Homemade Samoas Cookies?
To keep your caramel gooey and easy to work with, cook it until it reaches the soft ball stage (around 235°F/112°C). Stir constantly over low heat and watch closely; if cooked too long, it may harden when cooled. You can also warm up the caramel slightly before spreading it on the cookies if it thickens up too much!