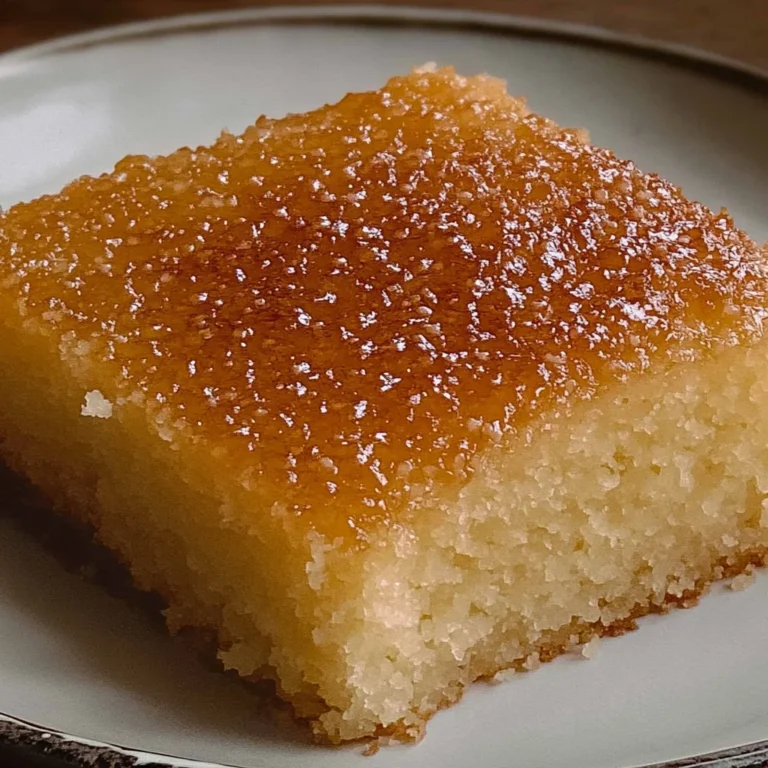
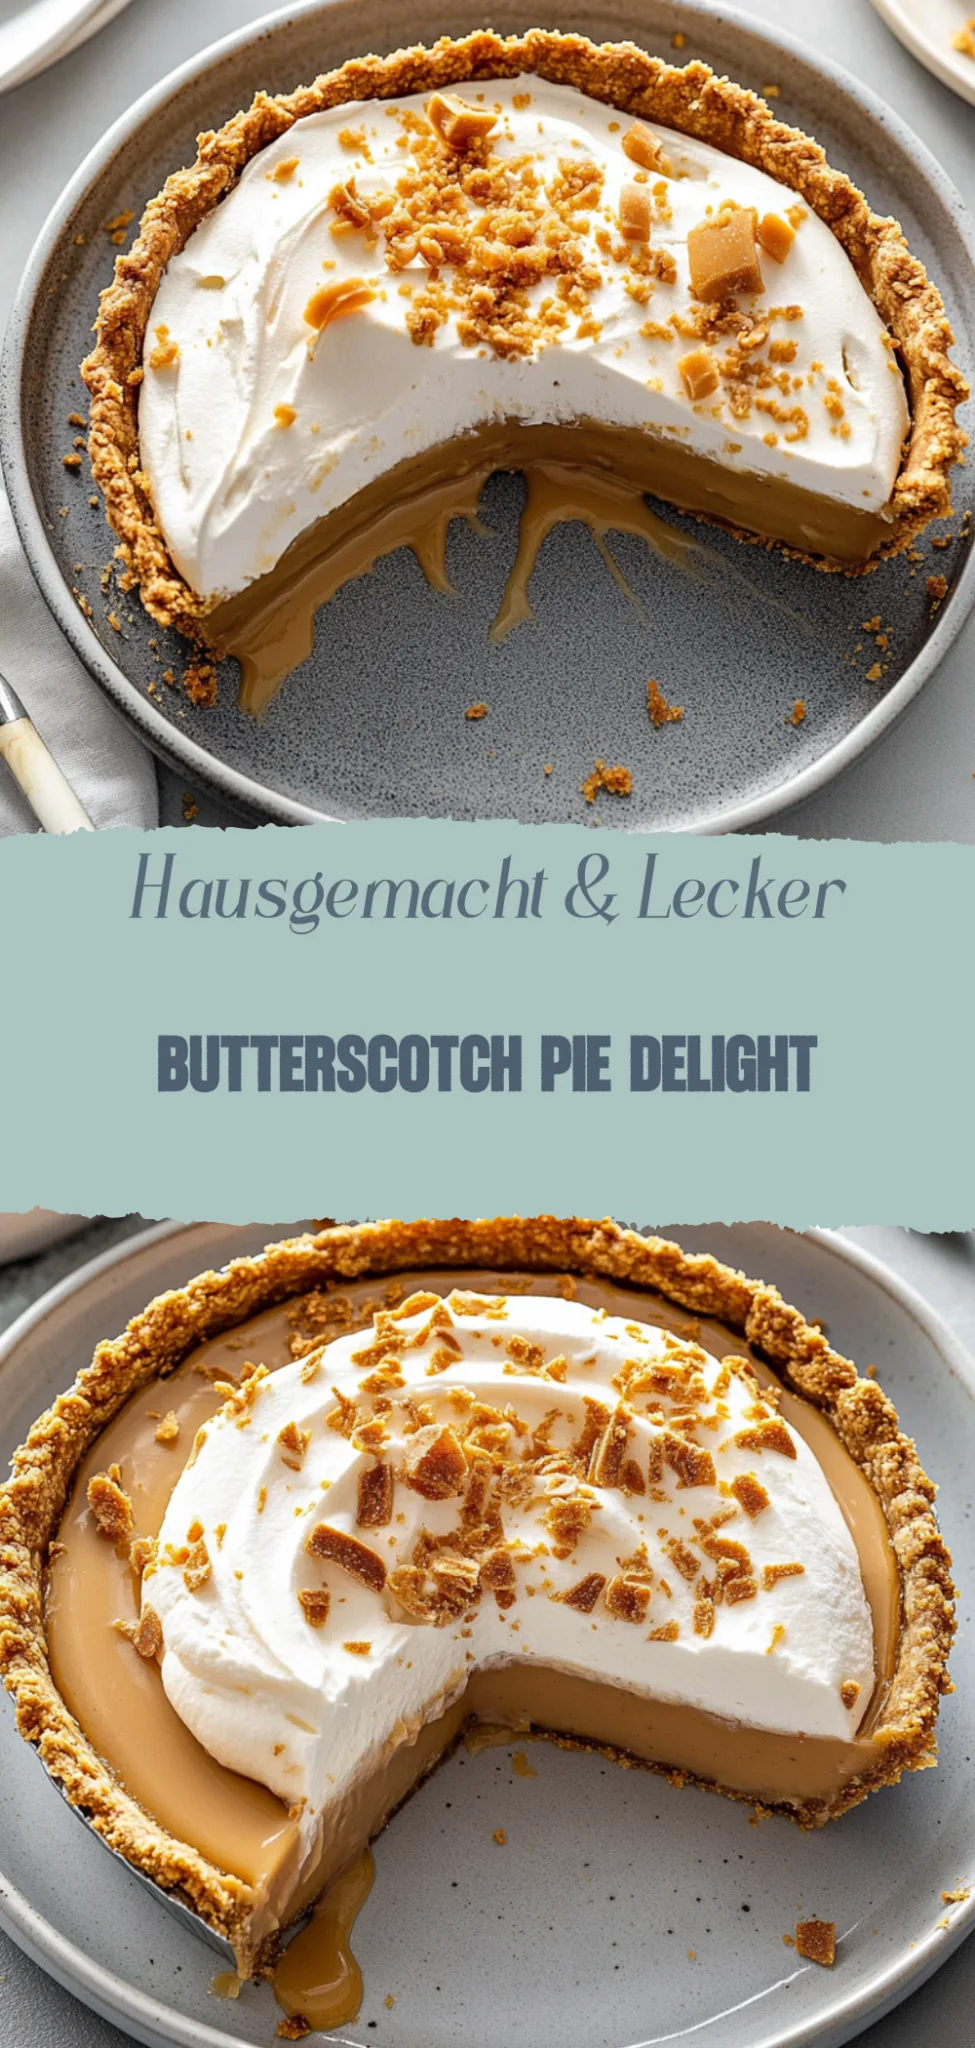
Butterscotch Pie: A Gooey Delight You Can’t Resist
Imagine biting into a perfectly golden, crispy exterior that gives way to a warm, gooey center bursting with rich flavors—each mouthful is an explosion of comfort and joy. The delightful aroma wafts through the air, teasing your senses and transporting you back to family gatherings where laughter and love mingled with the irresistible scent of this beloved dish.
Remember that time you tried to impress your friends with your cooking skills, only to end up with something resembling a science experiment? Well, fear not! This recipe is foolproof and perfect for any occasion, from cozy nights in to festive celebrations. Get ready to embark on a culinary adventure that promises a delicious experience you won’t soon forget.
Why is Butterscotch Pie a must-try?
Indulge in the rich, creamy flavor that only butterscotch can deliver. This pie is not only simple to make, but it also requires minimal prep time—perfect for busy bakers! Versatile enough to be served warm or chilled, it’s a crowd-pleaser that will leave everyone asking for seconds. Plus, its nostalgic taste brings back fond memories, making it a delightful addition to any gathering.
Butterscotch Pie Ingredients
For the Pie Crust:
- 1 1/2 cups all-purpose flour – A classic pie crust that provides a flaky base for the sweet filling.
- 1/2 cup unsalted butter (cold, cubed) – Cold butter ensures a tender, flaky crust; you can use margarine in a pinch.
- 1/4 teaspoon salt – Enhances flavor; use less if you’re using salted butter.
- 4-5 tablespoons ice water – Adds moisture to bind the dough without making it tough.
For the Butterscotch Filling:
- 1 cup brown sugar (packed) – The star of your butterscotch pie; light or dark brown sugar both work well.
- 1/3 cup cornstarch – Thickens the filling for that perfect pudding-like consistency.
- 1/4 teaspoon salt – Balances sweetness; kosher salt is preferred for its texture.
- 2 cups whole milk – Creamy base for the filling; you can substitute almond milk for a dairy-free option.
- 4 large egg yolks – Helps thicken and enrich the filling; reserve the whites for another recipe if desired.
- 2 tablespoons unsalted butter (softened) – Adds richness and enhances the flavor of the butterscotch filling.
- 1 teaspoon vanilla extract – Use pure vanilla for best flavor; imitation vanilla works in a pinch.
For Topping:
- 1 cup heavy whipping cream – Whipped to soft peaks, it adds lightness and creaminess to your pie.
- 2 tablespoons powdered sugar – Sweetens the cream without being overpowering; adjust to taste.
- 1 teaspoon vanilla extract – A touch more vanilla really elevates the whipped cream flavor.
Enjoy creating this delightful butterscotch pie that brings warmth and nostalgia to your family gatherings!
How to Make Butterscotch Pie
1. Prepare the Crust: Start by preheating your oven to 350°F. Roll out a pie crust and fit it into a 9-inch pie pan, crimping the edges for a beautiful finish.
2. Blind Bake: Place parchment paper over the crust and fill it with pie weights or dried beans. Bake for about 15 minutes until lightly golden, then remove weights and let it cool.
3. Make the Butterscotch Filling: In a saucepan, whisk together brown sugar, cornstarch, and salt over medium heat. Gradually add milk while stirring until it thickens and bubbles, about 5-7 minutes.
4. Add Butter and Vanilla: Remove from heat and stir in unsalted butter and vanilla extract until smooth. The filling should be glossy and rich in color, embodying that delightful butterscotch flavor.
5. Pour into Crust: Pour the warm filling into your cooled pie crust, smoothing the top with a spatula. Let it set at room temperature for 30 minutes before chilling in the fridge for at least 2 hours.
6. Whip Cream Topping: While your pie chills, whip heavy cream with sugar and vanilla until soft peaks form. This will be the perfect light topping for your luscious butterscotch pie.
7. Serve and Enjoy: Once chilled, slice your butterscotch pie and generously dollop whipped cream on each slice. Watch as smiles spread around the table!
Optional: Garnish with a sprinkle of sea salt for an extra flavor kick.
Exact quantities are listed in the recipe card below.
Tips for the Best Butterscotch Pie
- Use Quality Ingredients: Select fresh butter and pure vanilla extract for a rich flavor that elevates your butterscotch pie to the next level.
- Avoid Lumps: Ensure you whisk the sugar and cornstarch thoroughly before adding them to the milk; this prevents lumps in your filling.
- Monitor Heat Carefully: Cook the filling over medium heat, stirring constantly. Too high a temperature can scorch the mixture, ruining your pie.
- Chill Properly: Allow your pie to cool completely at room temperature before refrigerating. This helps set the filling perfectly without cracks.
- Top with Whipped Cream: A generous dollop of freshly whipped cream on your butterscotch pie adds a delightful creaminess that balances its sweetness.
Storage Tips for Butterscotch Pie
Room Temperature: Keep your butterscotch pie at room temperature for up to 2 days, covered loosely with foil or a clean kitchen towel to prevent drying out.
Fridge: For longer freshness, store the pie in the refrigerator for up to 5 days. Place it in an airtight container to protect that creamy filling.
Freezer: You can freeze butterscotch pie for up to 2 months. Wrap it tightly in plastic wrap and aluminum foil to prevent freezer burn, ensuring its sweet flavor remains intact.
Reheating: If you prefer your pie slightly warm, gently reheat individual slices in the microwave for about 15-20 seconds. Enjoy that comforting taste of butterscotch!
Butterscotch Pie Twists and Turns
Feel free to explore these delightful variations that will elevate your dessert experience to new heights!
- Dairy-Free: Substitute coconut milk for whole milk for a rich, nutty flavor. This twist adds a tropical flair while keeping it creamy and indulgent.
- Nutty Crunch: Incorporate crushed pecans or walnuts into the crust for added texture. The nutty crunch beautifully complements the smooth filling, creating a delightful contrast.
- Salted Caramel Drizzle: Top your pie with homemade salted caramel sauce. The sweet-and-salty combo takes this classic dessert to an entirely new level of indulgence.
- Chocolate Swirl: Fold in melted dark chocolate into the butterscotch mixture before pouring it into the crust. This creates a decadent chocolatey surprise with every bite!
- Spicy Kick: Add a pinch of cayenne pepper or cinnamon to the filling for a warm, spiced twist. This unexpected heat enhances the butterscotch flavor and keeps your taste buds guessing.
- Fruit Infusion: Mix in some finely chopped apples or pears into the filling for a fruity twist. The subtle sweetness of the fruit pairs wonderfully with butterscotch, making each slice even more delightful.
- Graham Cracker Crust: Swap out traditional pie crust for a graham cracker crust for an easy, no-bake option. It adds a deliciously sweet crunch that perfectly complements the creamy filling.
- Mini Pies: Bake individual portions in muffin tins for adorable mini pies. These bite-sized treats are perfect for parties and make sharing (or not!) oh-so-easy!
Make Ahead Options
Butterscotch Pie is an excellent choice for meal prep, allowing you to savor its rich flavors without the last-minute rush. You can prepare the butterscotch filling up to 3 days in advance; simply store it in an airtight container in the refrigerator. Additionally, you can bake the pie crust ahead of time—just make sure to cool it completely before wrapping it tightly and refrigerating for up to 2 days. To maintain the pie’s creamy texture, cover the filling with plastic wrap directly on its surface to prevent a skin from forming. When you’re ready to serve, pour the chilled filling into the crust, whip up some fresh cream for topping, and enjoy your homemade Butterscotch Pie!
Butterscotch Pie Recipe FAQs
What ingredients should I use for the best butterscotch flavor?
For a truly delightful butterscotch pie, choose high-quality brown sugar; it’s the star of the show! Dark brown sugar will give you a richer flavor. If you can, use freshly grated nutmeg and pure vanilla extract for an extra depth that makes all the difference. Don’t skimp on the heavy cream either; it adds that luxurious texture we all crave!
How should I store leftover butterscotch pie?
To keep your butterscotch pie fresh and delicious, cover it tightly with plastic wrap or aluminum foil and refrigerate. It will stay good for about 3-4 days. Just remember to bring it back to room temperature before serving; that way, those sweet, creamy layers can shine again!
Can I freeze butterscotch pie?
Yes, you can freeze butterscotch pie, but it’s best to do so without the whipped topping. Wrap individual slices tightly in plastic wrap and then in aluminum foil or a freezer-safe container. It will keep well for up to 2 months. When you’re ready to enjoy it again, just thaw in the fridge overnight and add fresh whipped cream before serving.
What should I do if my filling is too runny?
If your filling turns out runny, don’t worry—this happens sometimes! Make sure to allow your mixture to come to a full boil while whisking constantly; this helps activate the cornstarch properly. If it still doesn’t set up after chilling, you can gently reheat it on the stove and whisk in a bit more cornstarch mixed with water until it thickens.
Is there a gluten-free version of butterscotch pie?
Absolutely! To make a gluten-free version of butterscotch pie, simply substitute traditional pie crust with a gluten-free alternative or make your own using almond flour or gluten-free graham crackers. The filling ingredients are naturally gluten-free, so focus on ensuring your crust is suitable for those adhering to a gluten-free diet.
Can I make this recipe dairy-free?
Yes! You can easily adapt this recipe to be dairy-free by using coconut milk or almond milk in place of heavy cream and vegan butter instead of regular butter. For the whipped topping, opt for coconut whipped cream—it’s rich and delicious! Just be sure to check labels for any hidden dairy ingredients when selecting your products.